The service provider will provide the organisation with resources in one or multiple regions, think of this as a large bucket of resources.
The Organisation Administrator will now need to to create two things.
Project
A project is a logical container which you can add Users, vSphere namespaces, and integrations to.
The project itself doesn’t define any amount of resources, it’s simply a object which you can organise resources into.
You can use Projects for mulitple strategies, you could create one Project for Production, and one Project for Development. But you could also create one Project for Production-AppX, and one project for Development-AppX. This all depends on who should have access to the resources, since vSphere Namespaces are sorted into Projects.
vSphere Namespace
You’ll notice i keep writing vSphere Namespace, instead of Namespace, this is to avoid confusion between a vSphere Namespace, and a Kubernetes Namespace. Both have similar character, but are completely different.
With the big bucket of resources the Provider has provided you with, you need to assign these to vSphere Namespaces. A vSphere Namespace is a collection of Resouces ( CPU, Memory, Network resources ). The vSphere Namespace will always be carved out of a Region, and assigned to a VPC.
When you create a vSphere Namespace, you do so by providing it a name, and a Namespace Class. Since everything in AllApps is orchestrate by Kubernetes Manifests, we’re using the “t-shirt size” concept where you select a size such as Small, Medium, Large, but you can also override these limits. If you find yourself constantly overriding them it may be easier to just create your own Namespace Class.
If you’ve got multiple Zones defined, you can select which zones this vSphere Namespace should be able to create items in.
Since a vSphere Namespace needs to be assigned to a VPC to get it’s networking, you can either assign it to the Organisations default-vpc, or create additional VPCs. By default, VPC’s cannot communicate with each other, this can be over-ridden.
Create a Project
Let’s create a project for Marketing, and then a vSphere Namespace for them.
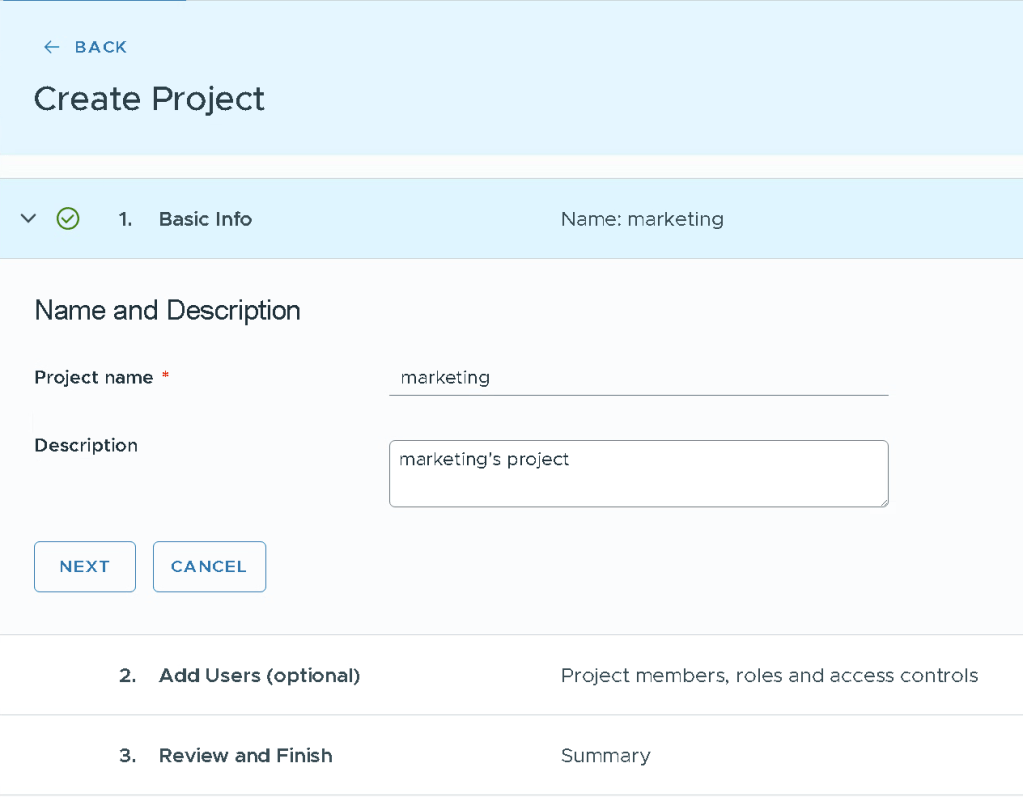
Navigate to Manage & Govern, Projects, and then click New.
Enter a project-name (must comply with k8s naming standard) and click Next.
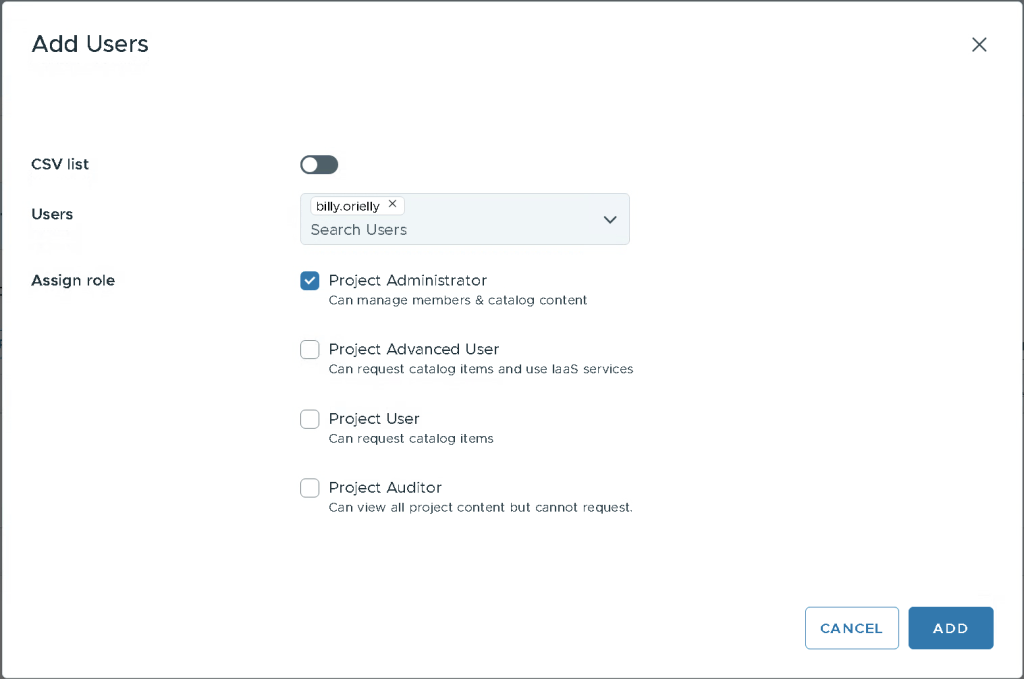
Click Add Users, Billy Orielly works for Marketing and will be the Administrator of this project, he will thus inherit permissions to the vSphere Namespaces we later create. Click Add, and then Next.
Review the Project summary and click Create Project.

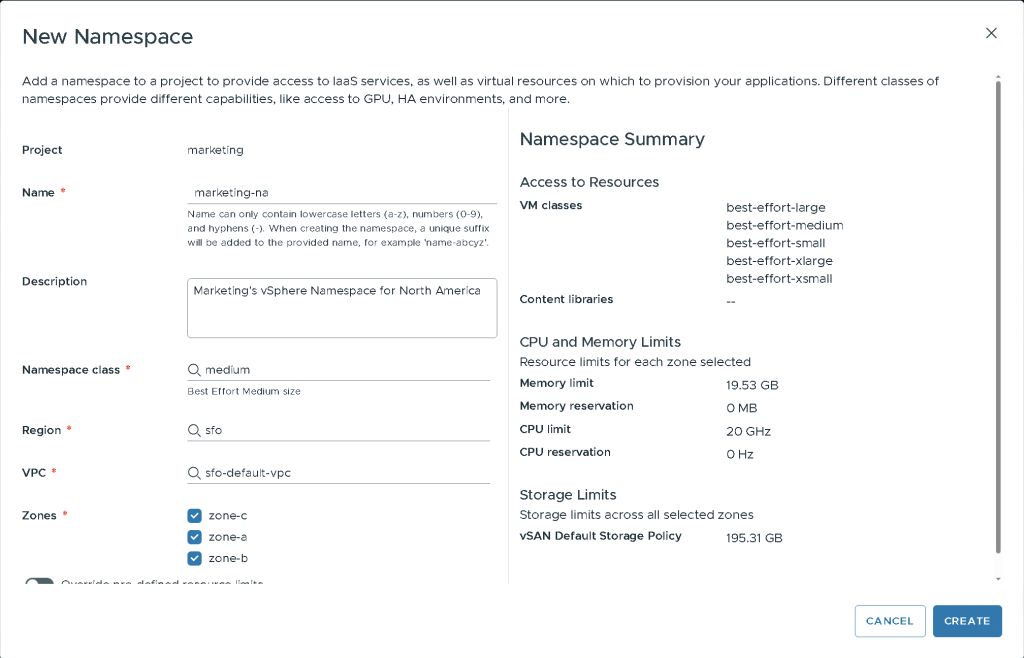
When the Project has been created, select the tab named Namespaces (Yes, vSphere namespaces…), then click New Namespace.
We’re going to create a vSphere Namespace for North American, in Name input marketing-na. We need to provide a unique name that follows kubernetes naming standard, select a Namespace Class, the region to carve resources from, what VPC to attach to, and what zones be ablet o create resources from.
Click Create.
The vSphere Namespace will take a few seconds to create, now we have somewhere to deploy services to.
Next we’ll go through how to create a VM Service, and Kubernetes Service.
