So at this point if you’re following along you should now have a workload domain, with at least one cluster, and an nsx-edge cluster setup.
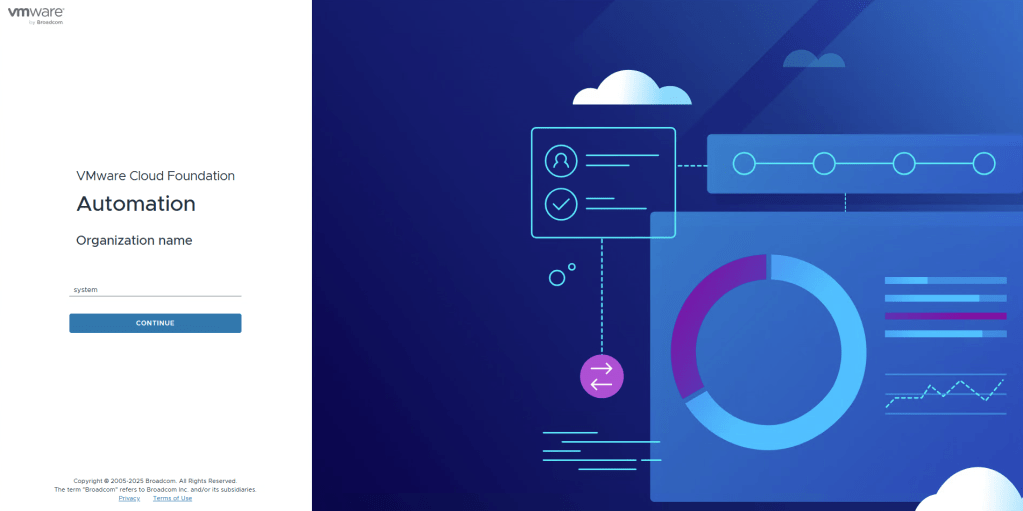
Now let’s setup VCF-A, and create an Organization. Browse to your VCF-A fqdn. To login to the Provider interface, you enter system as the Organization.
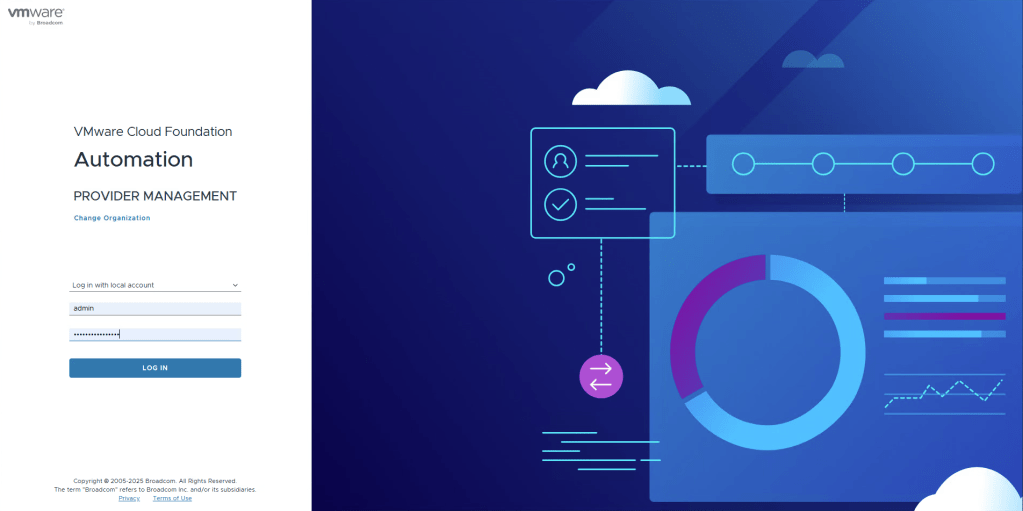
It should now state that you’re logging into the Provider Management portal. Login using admin
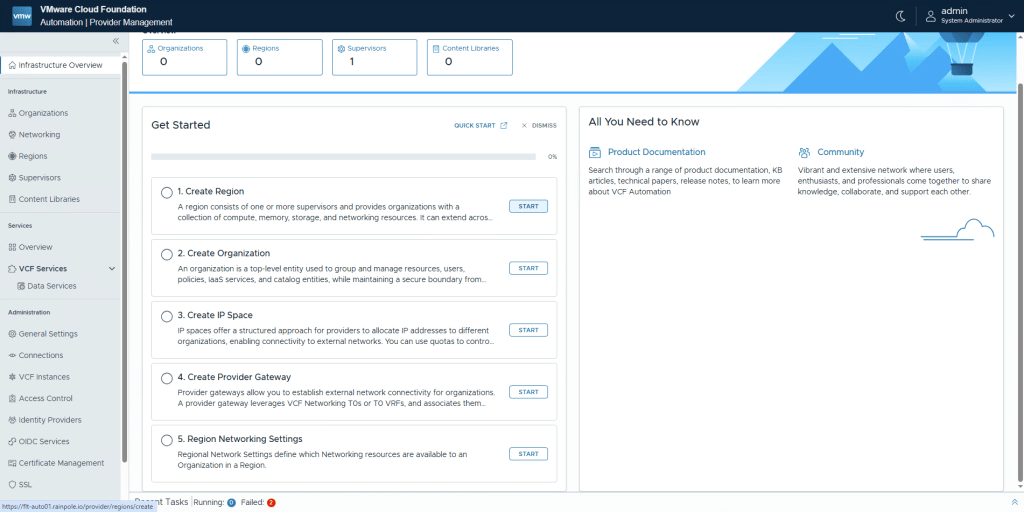
You now have the option to do a “Quickstart”, but it’s kinda limited, and since it’s a good idea you understand what’s done, and it only takes like 5 mintues to do all this, select Manual Setup.
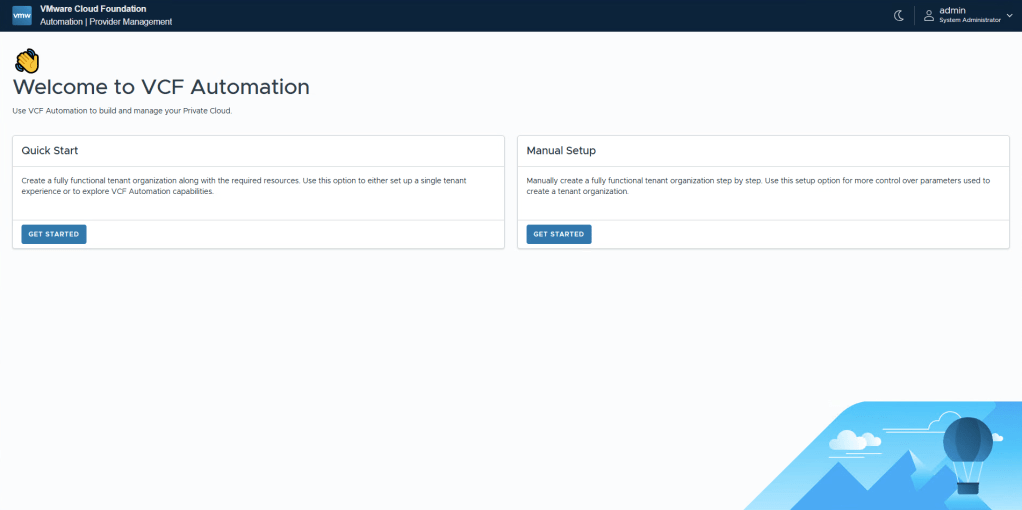
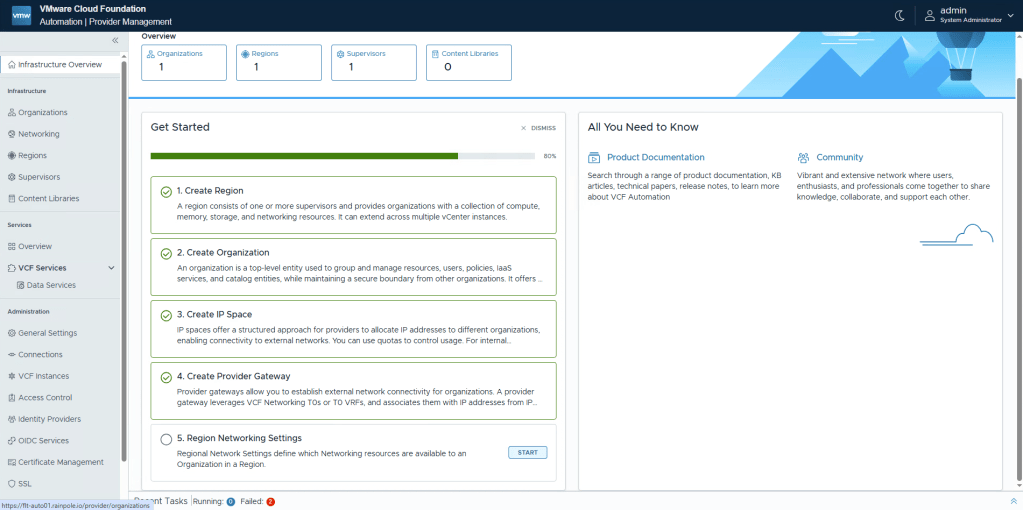
We still get a nice “Getting Started” bullet list, but now we have a bit more control.
Go ahead and select 1. Create Region. Click Start
Something important to note is that all names must conform to Kubernetes standard. I suggest using only lower-case letters, hyphen and dot.
Here’s some good to know info:
– There’s a one to one mapping between your Region and your NSX Manager
– A Region can have multiple Supervisors.
– Your filtering what can and can’t be used later on. If you select multiple Storage Classes in this step, you can still assign what specific Orgs etc can use later.
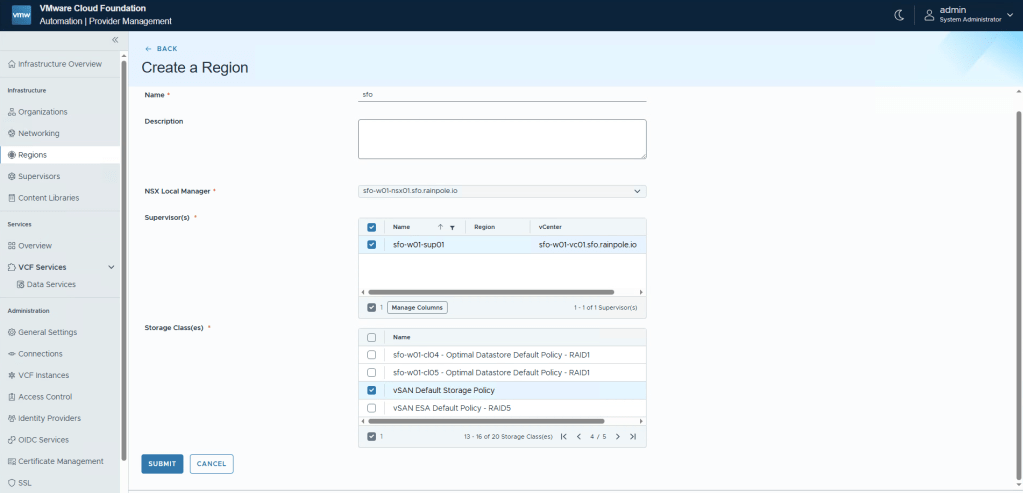
Select a descriptive name, in my case i’ve selected sfo since it’s the Instance i’ve created.
I’ve selected my NSX Manager for the workload domain.
This will automatically populate the list of Supervisors, where since i have 3 clusters, but a high-availability Supervisor spread across the 3 zones, it will just show one.
Lastly, even though i could select more storage policies, since it’s vSAN and i don’t have Stretch Cluster, i’ll just select the vSAN Default Storage Policy. Simple 🙂
When your done, click Submit.
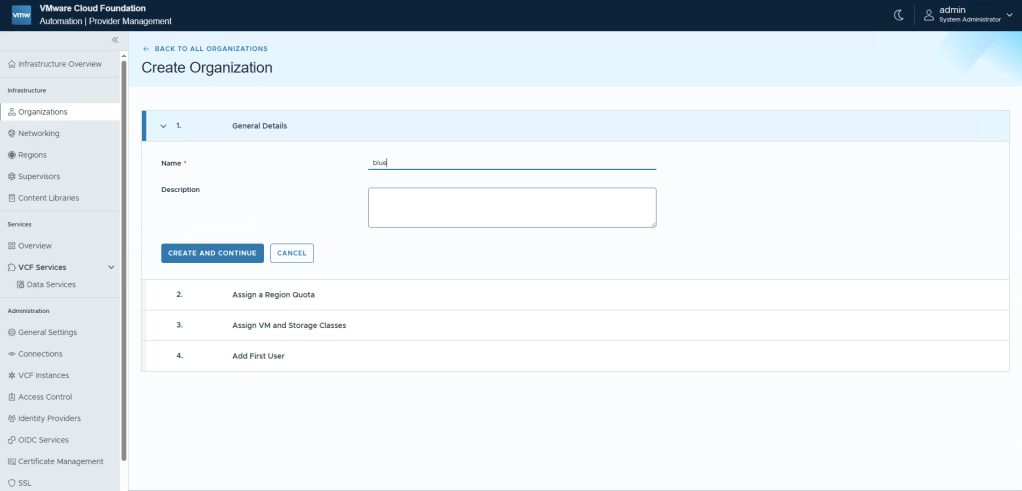
Now that we’ve created a Region, we need to create at least one Organization. Yes, the naming is confusing, please note that in the UI it’s called Organization, and in the API it’s called Tenant. Depending on your requirements, you will need to decide if you need a single, or multiple Orgs. Please note Orgs use “Hard seperation”, in my lab i will use colors like “Blue”, “Red” and “Purple” to show separation, but to prove a point these could be “Pepsi”, “Coca-Cola” and “Red Bull”. Go ahead and click Start nex to 2. Create Organization.

Provide a descriptive name. This can actually be updated in the future, but i’ve noticed that even though the Org is renamed, there’s still lots of stuff that isn’t that you will need to manually tidy up, such as the Project name in NSX, the string used for logging etc. So choose wisely from the beginning, then click Create and Continue.
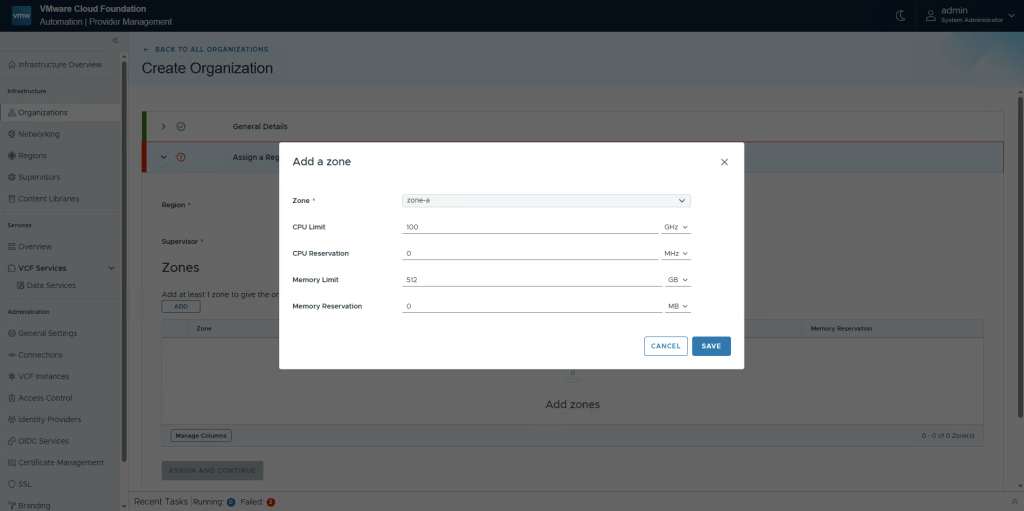
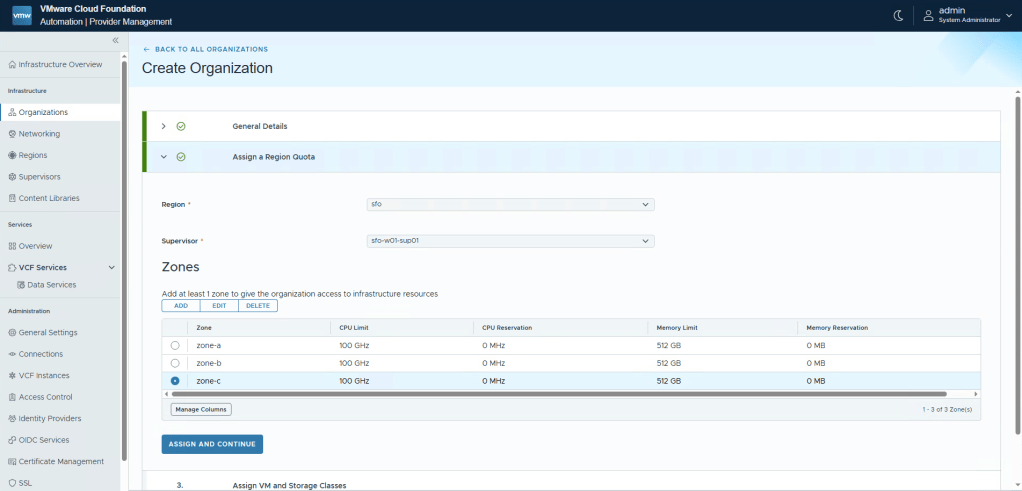
You need to start carving out resources that this Org can then use. You can add resources from multiple Regions to an Org, but since i currently only have one, let’s add some resources from sfo. Click Add to start carving out resources from Zones.
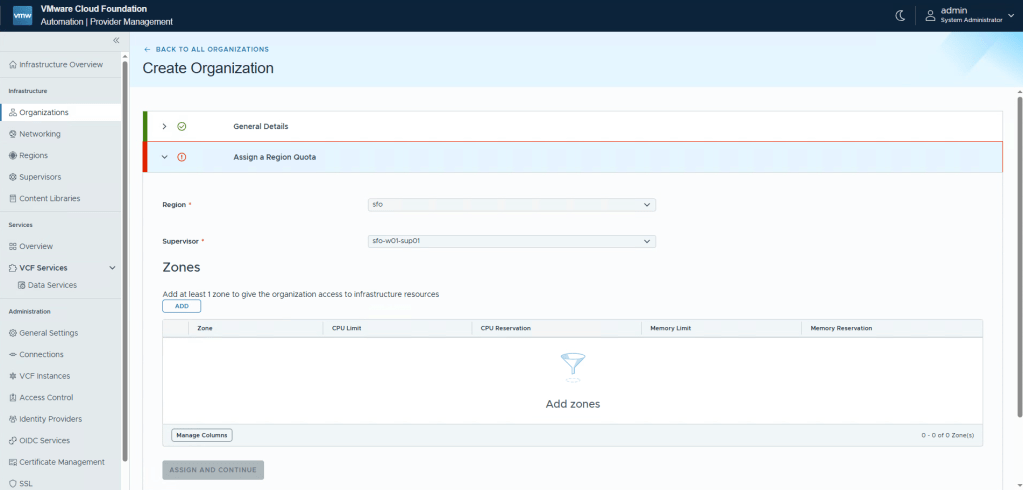
Select a Zone from the dropdown, and provide resources. If you fill in the Reservation fields this will create the equivilient of Resource pool reservations in vCenter (but in Namespaces). This will mean noone else can use these resources since they are reserved. Use with caution.
Depending on your setup, when you’ve created all the Zones you require, select Assign and Continue.
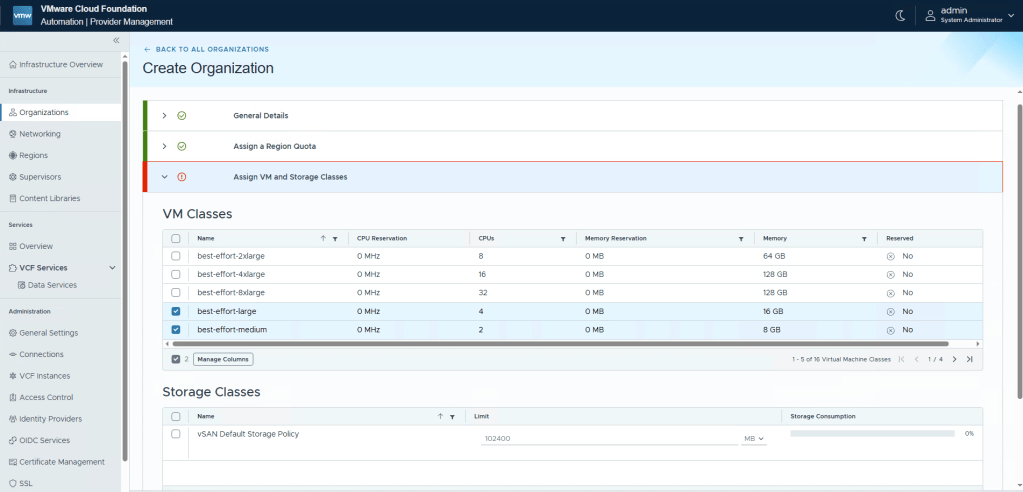
Now we need to select one or more VM Classes. These are t-shirt sizes that the Org will be able to use when defining their VMs or k8s clusters. “Best Effort” means they have no reservation, while “Guaranteed” means they use reservation, again, use with caution. Select the VM Classes you wish to offer, please note that you need to press the “arrow” next to 1/4 in the lower right part of the table to browse more classes. Using the “Select all” button only selects the classes on the same page. I’ve selected two classes, and selected the arrow.
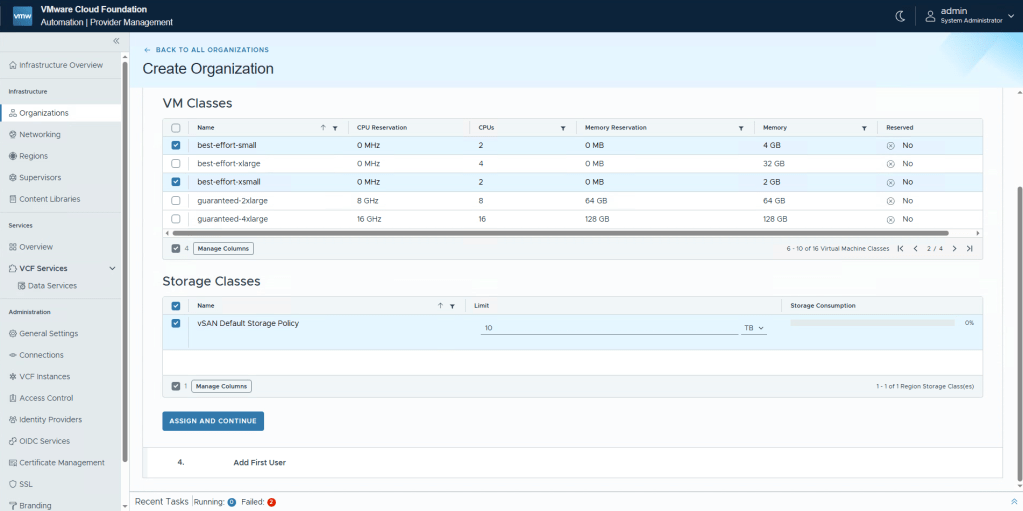
I’ll select two more VM Classes i want to provide, then the only storage class i chose to expose. I’ve updated the amount of storage the Org can consume to 10 TB.
Click Assign and Continue.
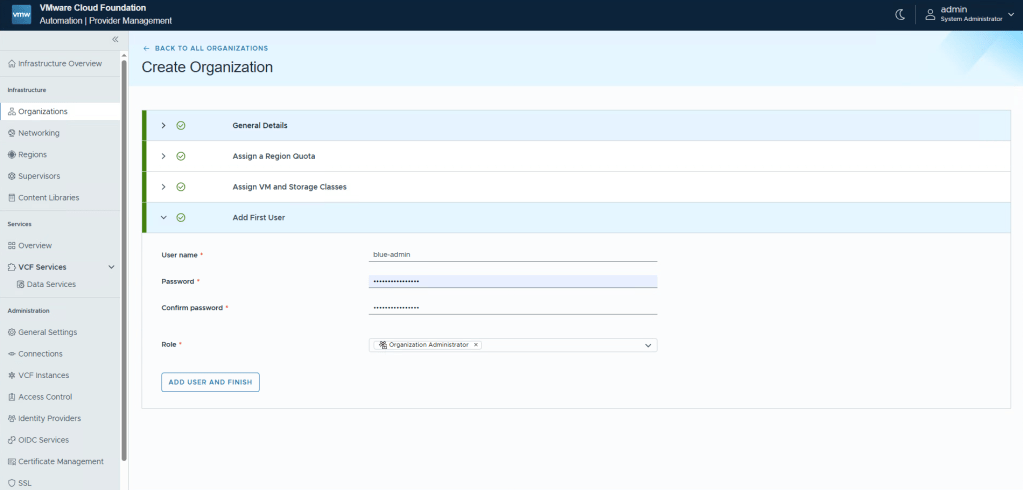
We now need to provide one, and onlyfully the only local user account. This will be the Administrative account the Org will use to login, to then setup their own IDP.
Enter a descriptive name, password, and select Organization Administrator.
Now click Add User and Finish.
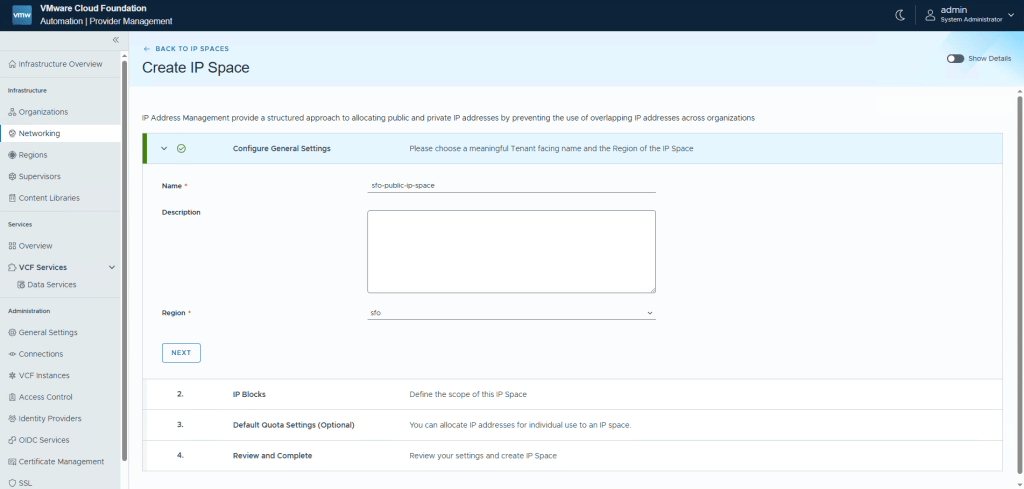
Now we need to create an IP space to host our “public” ip addresses. These are a pool of IP Addresses that will be used when an Org wants a assign an IP address and port to a VM/k8s that should be reachable from outside of the Org or VPC.
Click Start next to 3. Create IP Space.
Give your IP Space a suitable name, depending on your needs this will either be a “shared” pool of IPs that multiple Orgs can use, or one thats dedicated for a specific Org. Click Next.
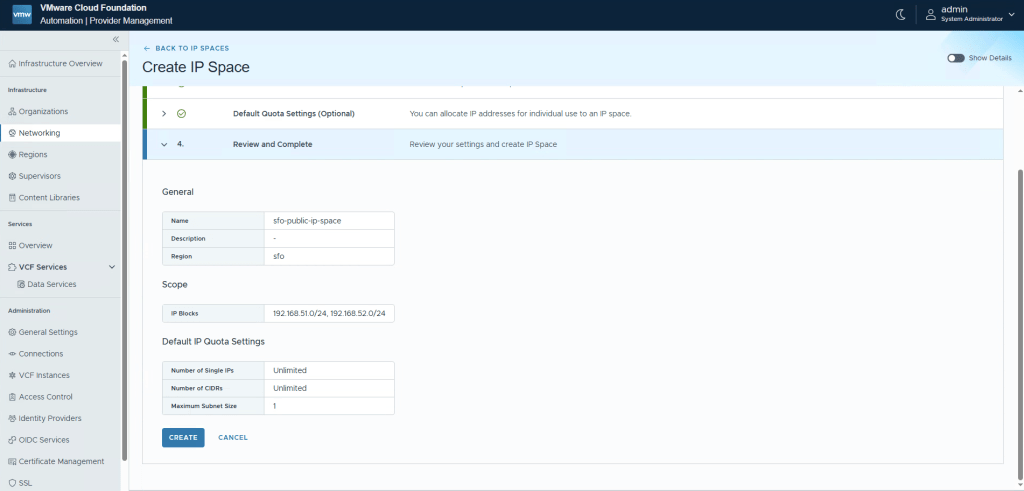
You can now enter up to 5 CIDRs for this ip-pool. If you think 5x /24 networks is too little, just use larger subnets. Click Next.

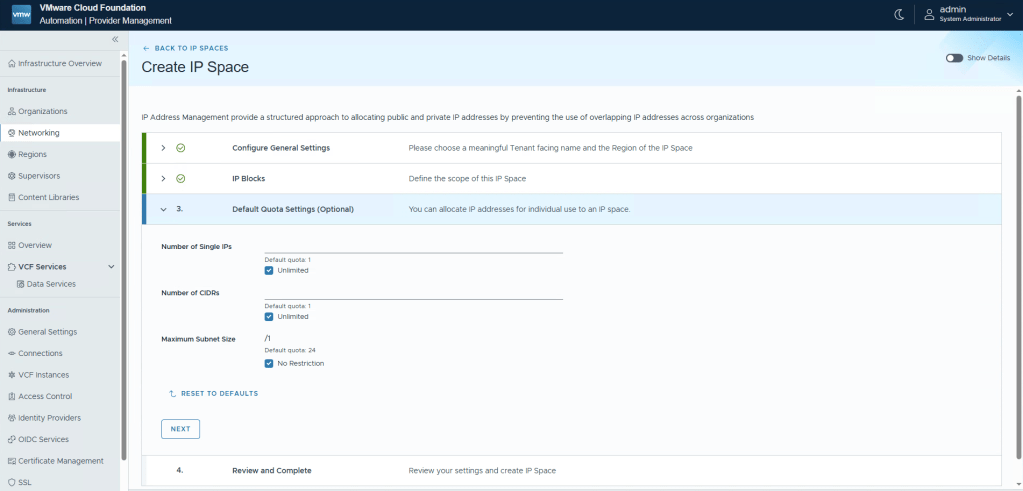
If you want, you can now set limitations on the amount of IPs and subnets that a tenant can create. This will depend on your use-case, for my lab i’ll select Unlimited and No Restriction. Click Next.
Check that everything looks OK, and click Create.
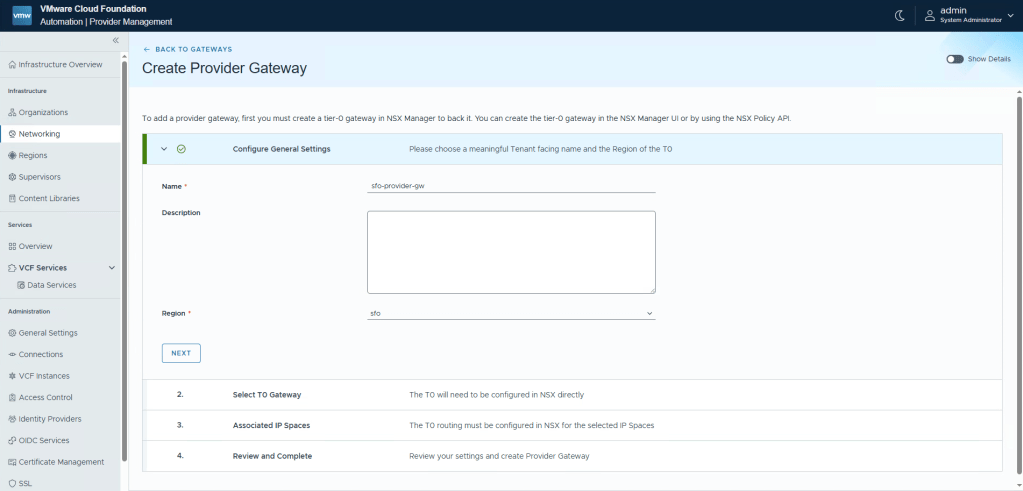
Now we need to create a Provider Gateway, this will create a ingress/egress that can be assigned to your Organization. Click Start next to 4. Create Provider Gateway.

Name your gateway something specific. If you’re just going to have one Provider Gateway that multiple projects will use, naming it after the Region might be sane. If you’re creating separate Provider Gateways for Production and DMZ, then maybe include that in the name to tell them apart. Select what Region this Provider Gateway belongs to, and click Next.
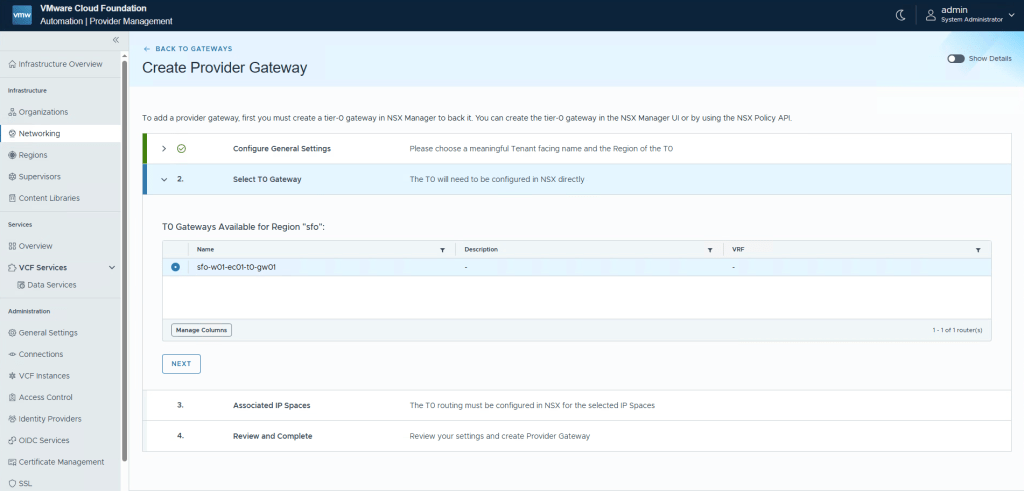
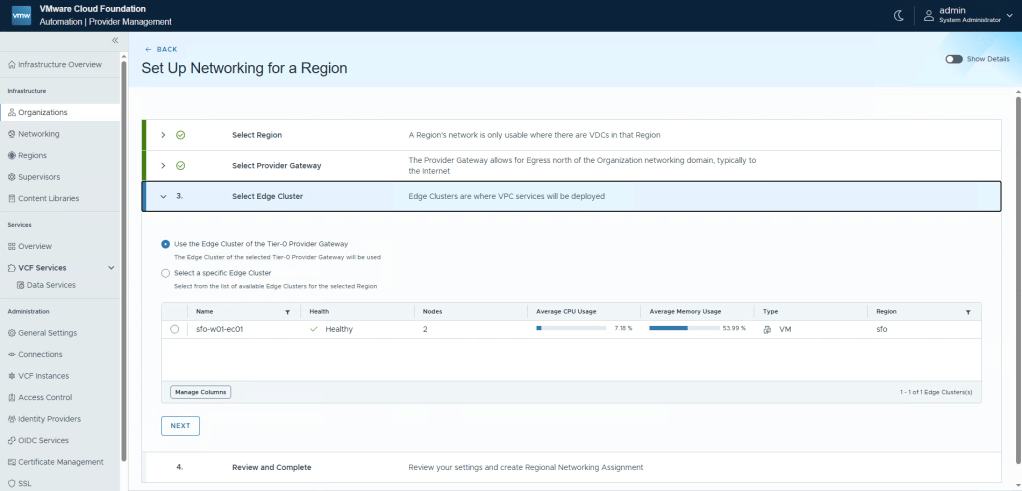
You can now choose between all the Active/Passive NSX Edge Clusters that are available in that Region, since a Region is 1:1 connected to a NSX Manager instance. When you’ve selected the desired Edge Cluster, click Next.
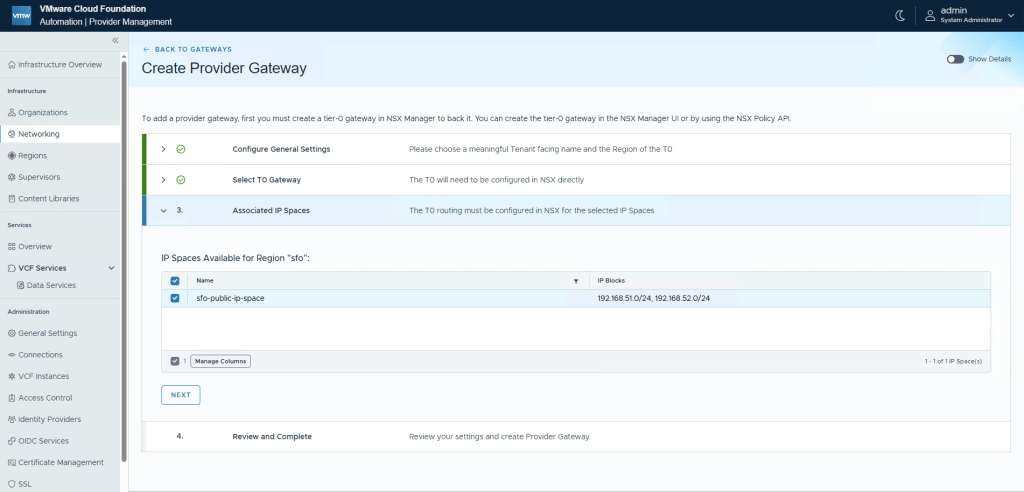
You now need to assign one or multiple IP Spaces, since i only have one, i’ll select that one, and click Next.
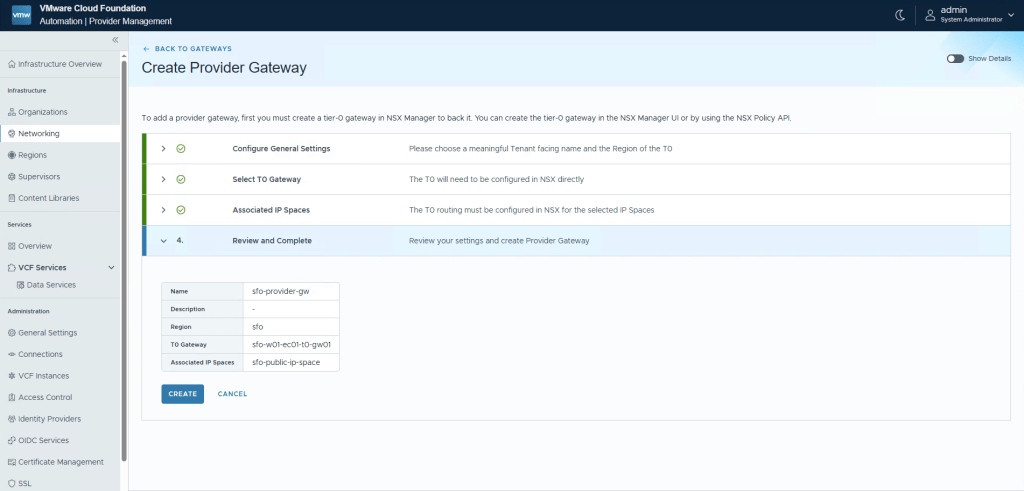
Review the summary, and click Create.
We’re almost done, now we need to assign the Provider Gateway to the Org we created before.
In the future, since we already have a Region, IP Space, and Provider Gateway created, creating a new Org will be really quick and easy!
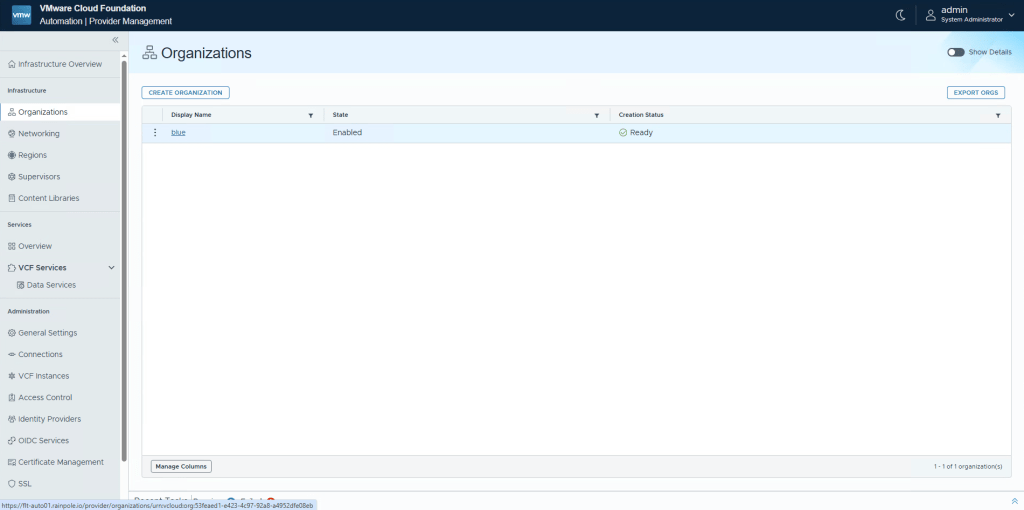
Either click Start nex tot 5. Region Network Settings, or navigate to Organizations.
Select the Org previously created.
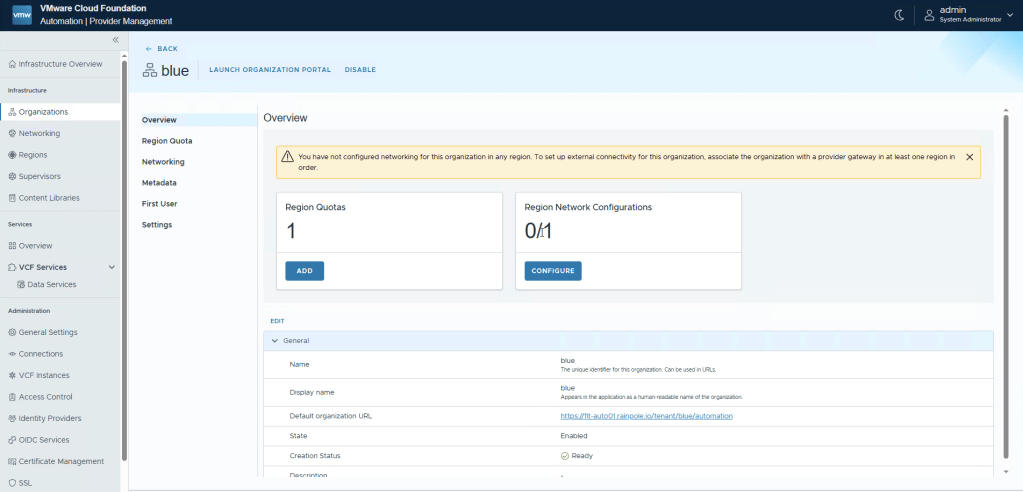
Previously we configured the Resource Quotas for the Region, but we now need to assign the network resources and quotas. Click Configure under Region Network Configurations.
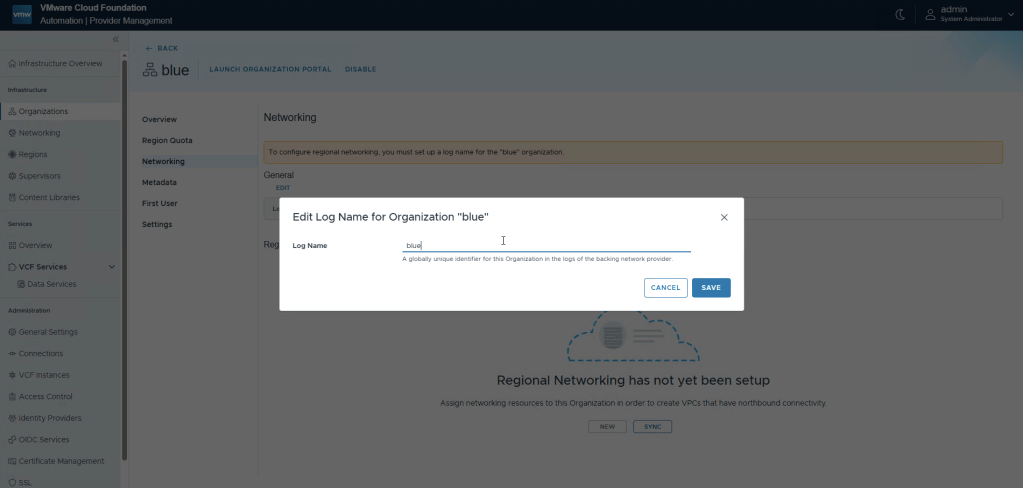
First, you need to provide a Log name, this string will be appended to all the logs regarding this Org. click Edit.
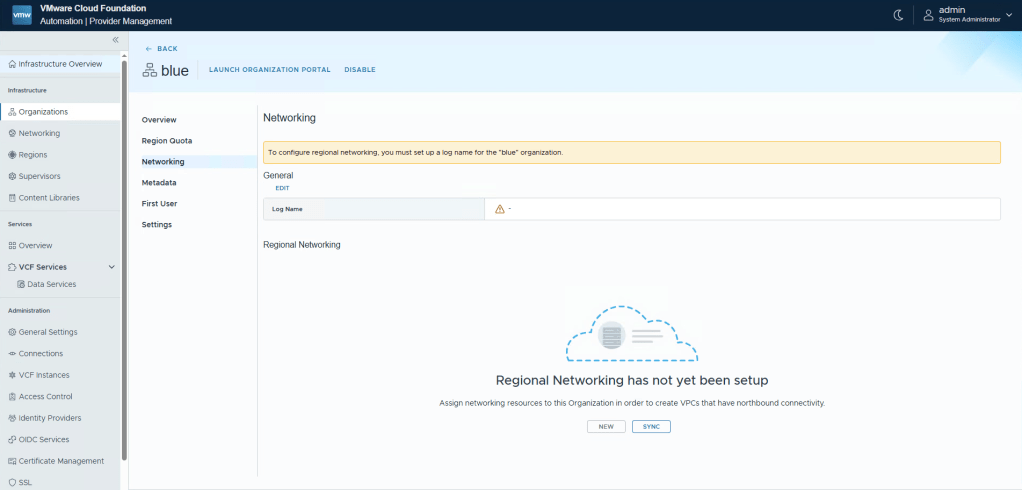
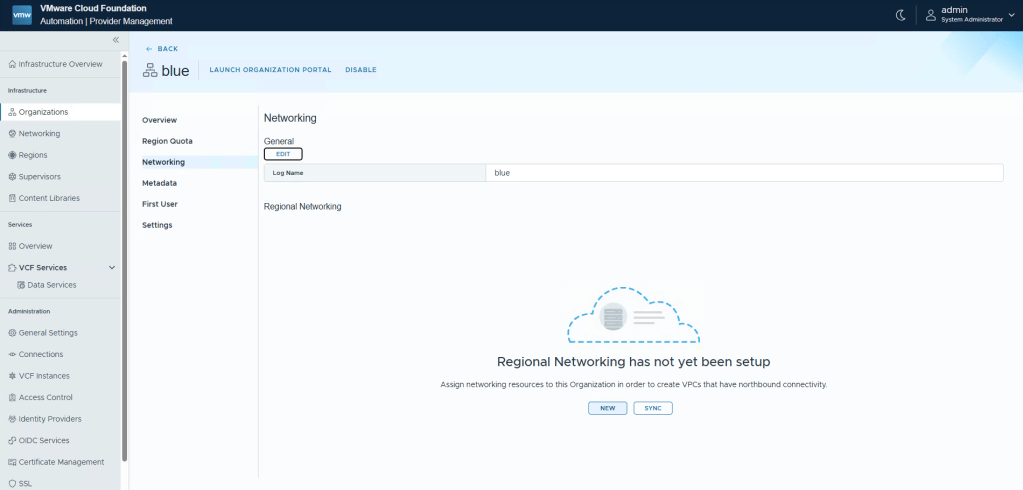
Give it a descriptive name, since my Org is called blue, i’ll just add blue, click Save.
Now you should be able to configure the Networking part. Click New.
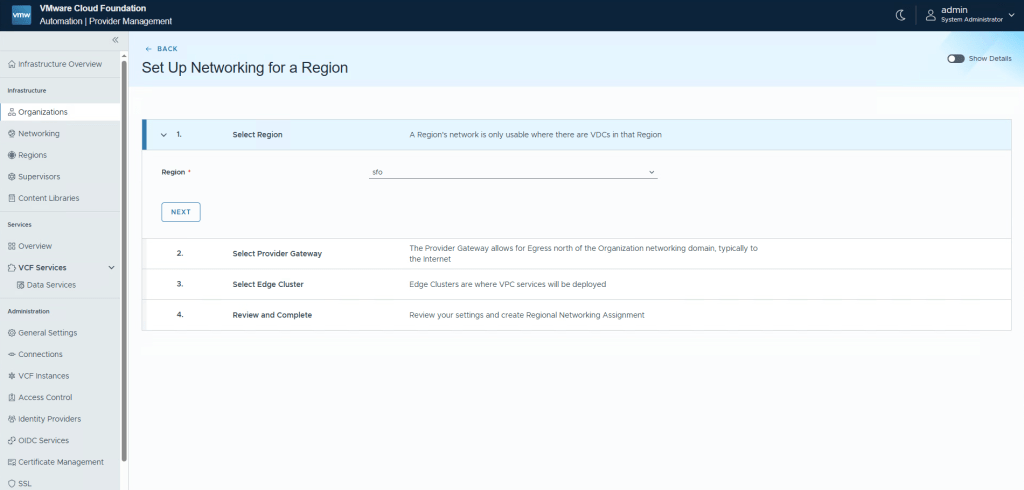
Select your Region. This is a dropdown since an Org can have multiple Regions setup.
Click Next.
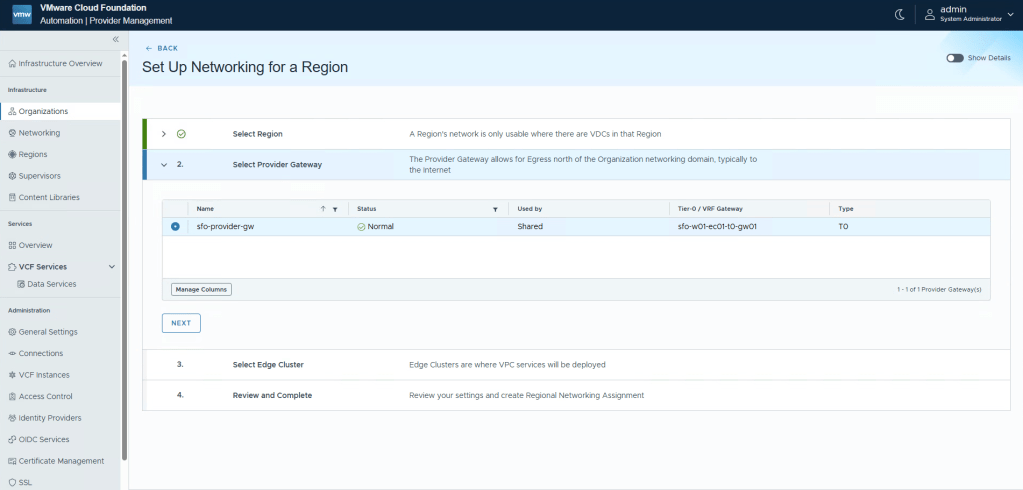
Select your newly created Provider Gateway. Click Next.
I only have one Edge Cluster so it doesn’t really matter, click Next.
Finally click Create

We’re now done with configuration all the base things, and a full Organisation.
Let’s now do some final configurations.
Content Library
We can now create a Content Library that can be “forced” onto each Organisation to save the amount of duplicate .iso and .ova images. And also make life easier for consumers.
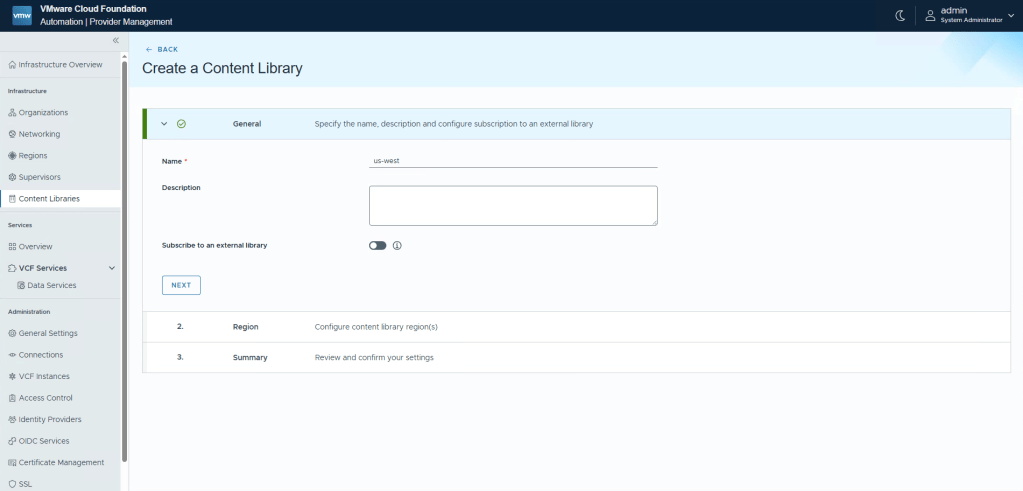
Click Content Libraries

Since both SFO and LAX are located on the west coast, i’ll name this library us-west since it will cover both regions. Click Next.
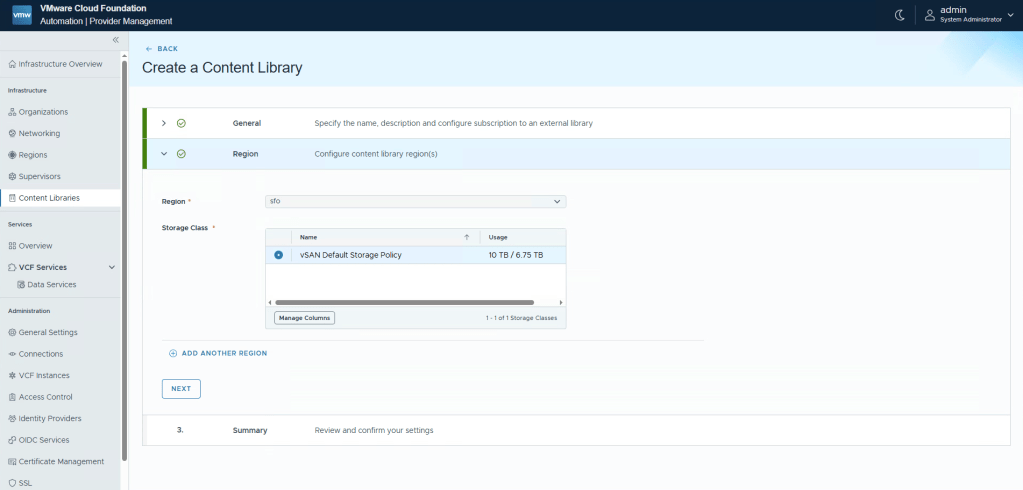
A content library needs a Storage Policy to save all the content. Click Next.
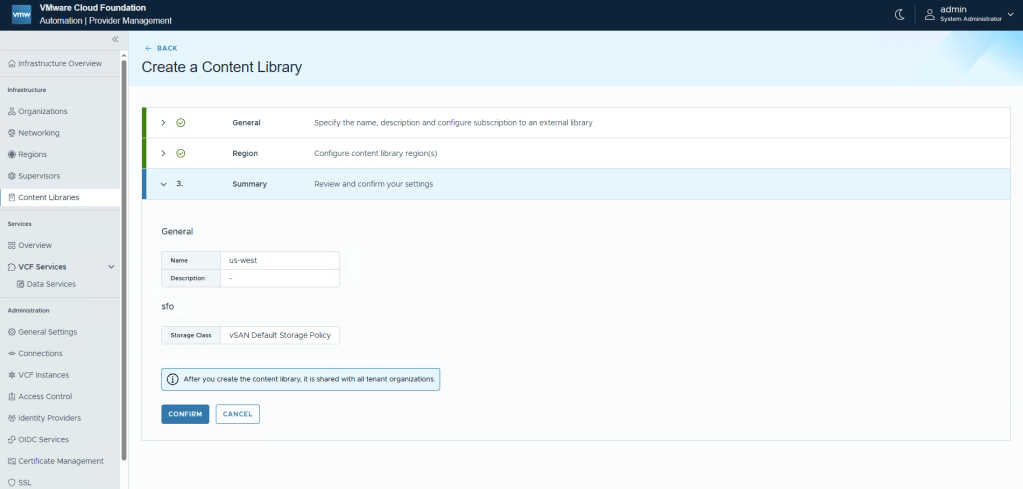
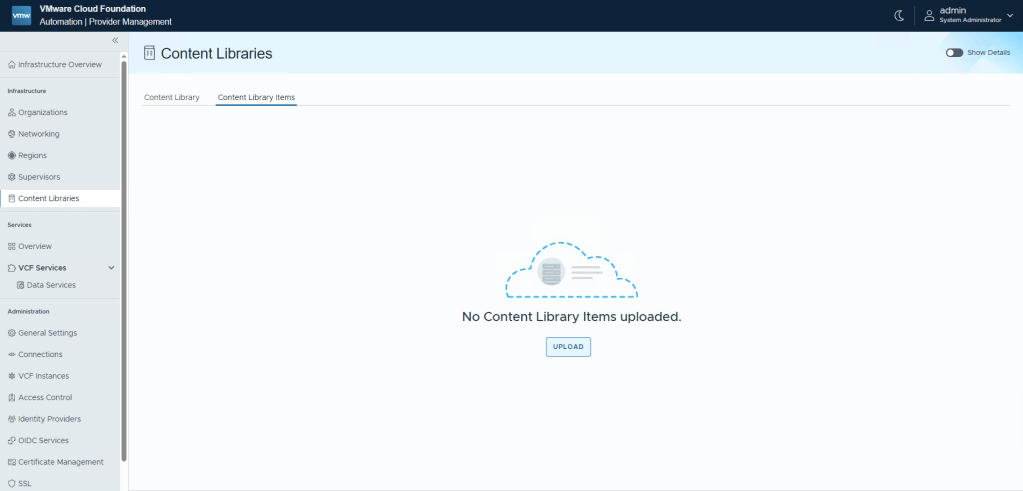
Read the summary and click Confirm.
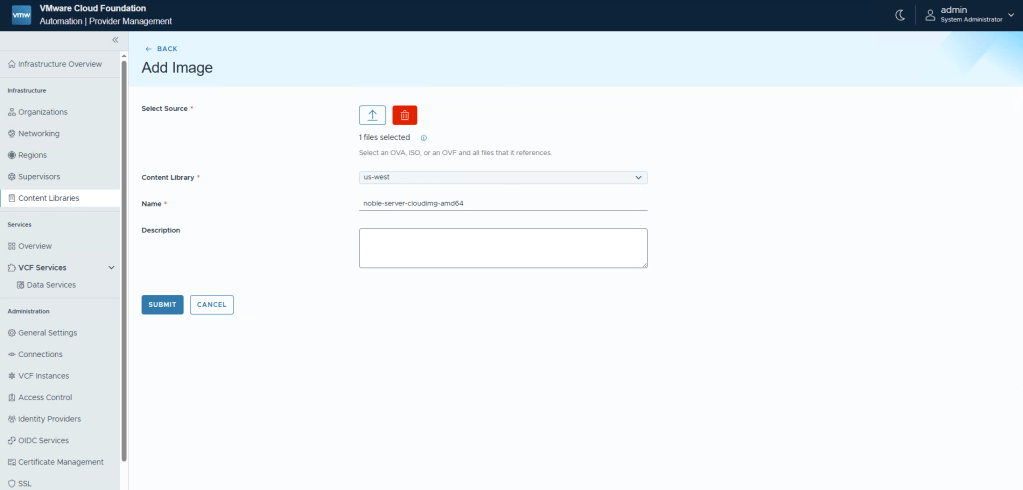
We now have an empty Content Library, time to start uploading some cloud images. I’ve downloaded Ubuntu’s cloud-init images in .ova format, and the latest Photon image which also uses cloud-init. Click the Upload button.
Upload your images one by one
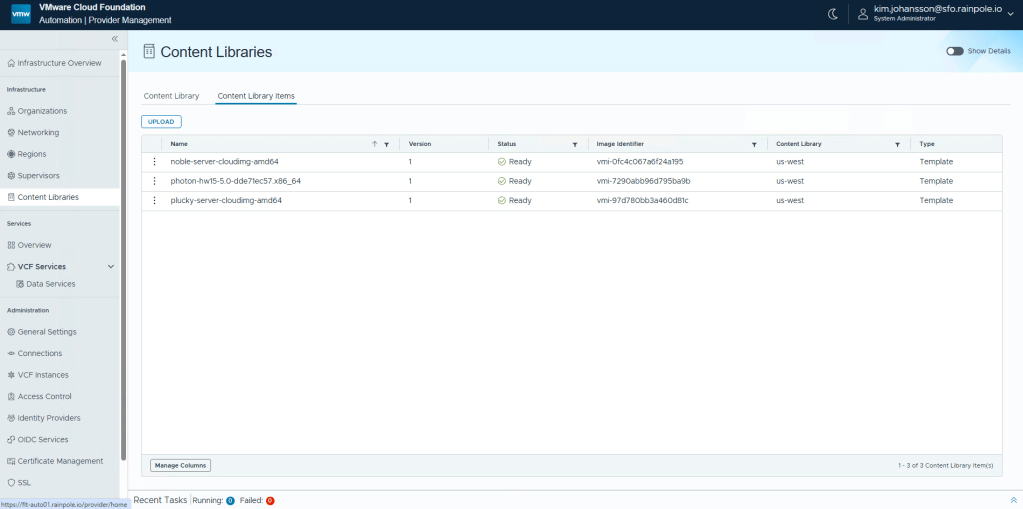
If you click the Content Library Items menu, you should now see all your images.
Authentication
We need to ensure that Administrators of the Provider management can access the interface securely. There’s two different ways you can do this.
- Using VCF Identity Broker
- Using LDAP
There’s some pro’s and con’s here. IDB is nice cause it’s integrated and quick to setup, but it only works for the Provider, and not Organisations.
AD/LDAP can be setup, and in the case of an Enterprise that may want to use the same AD for multiple Organisations, it’s quick to setup the Orgs authentication to use the Providers Auth.
LDAP/Active Directory
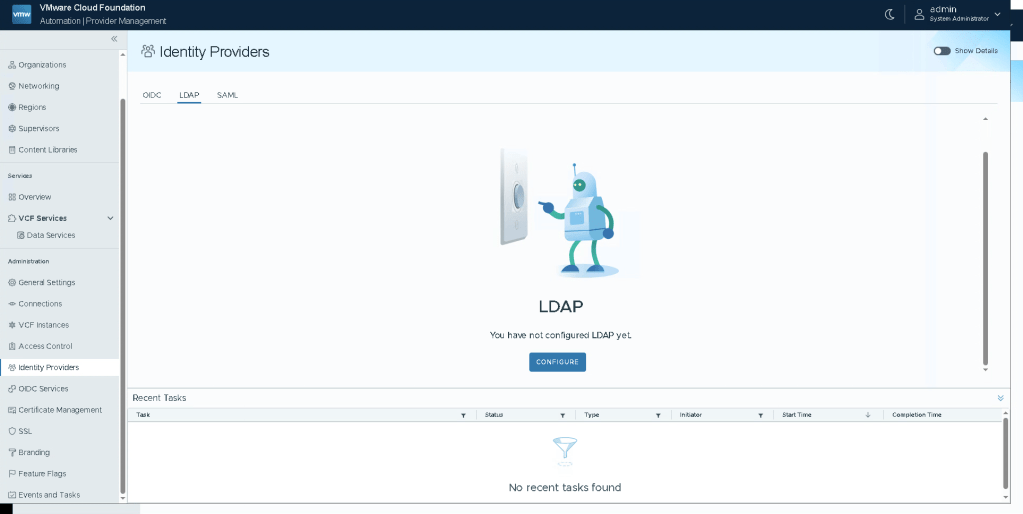
Navigate to Identity Providers, then LDAP, click Configure.
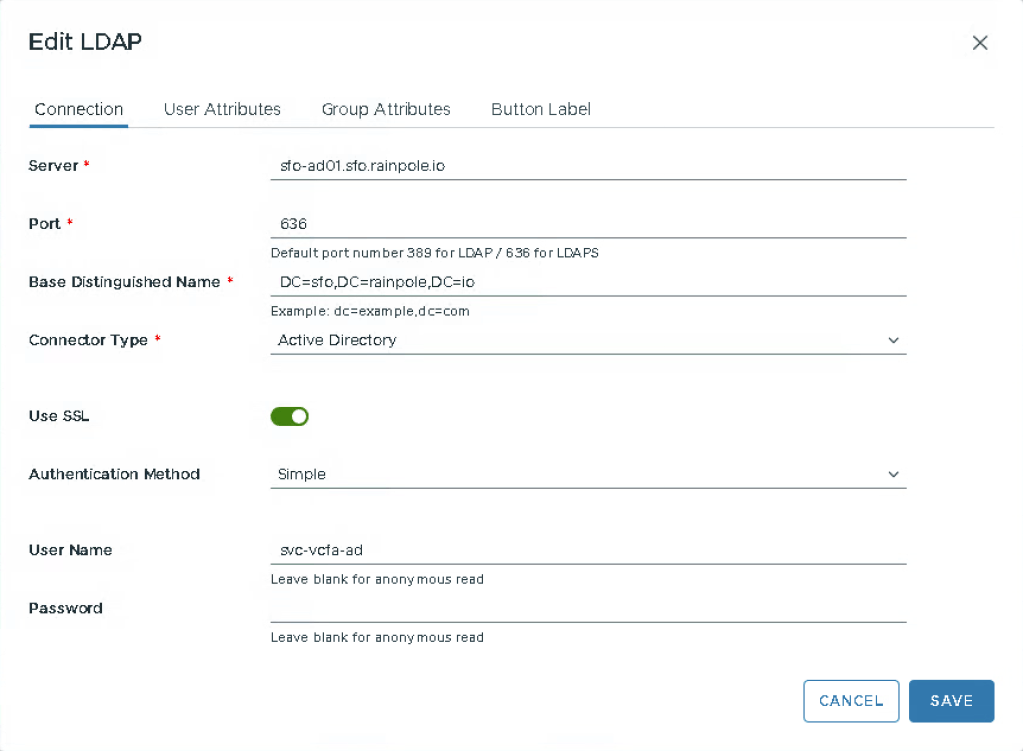
Enter the details for your AD and click Save.
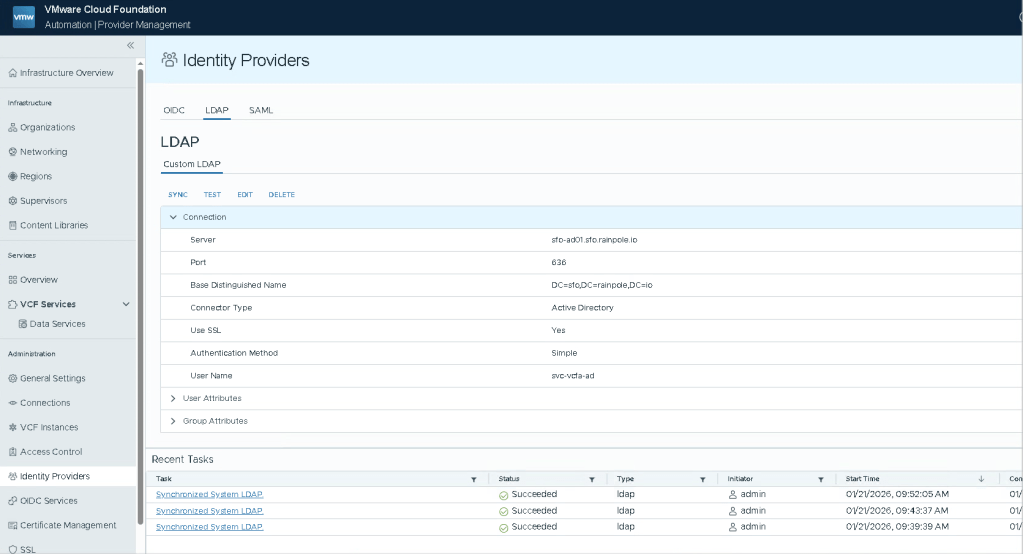
You’ve now added the Active Directory as a authentication source, a good idea is to test that it actually works, click Test, enter the password for the service account, and then fetch any known user to see that the fields populate correctly.
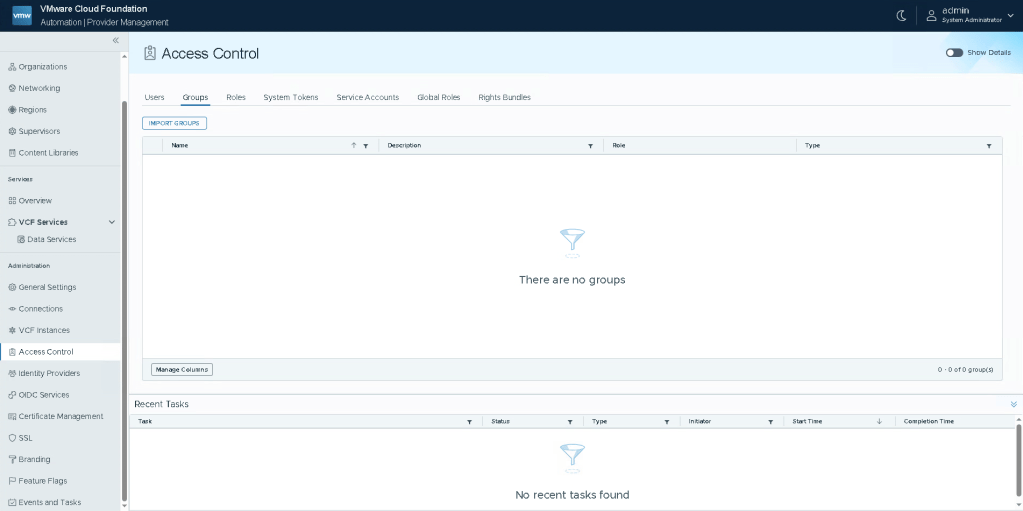
Now to define what users/groups should have access to the Provider portal, go to Access Control, then Groups, and select Import Groups.
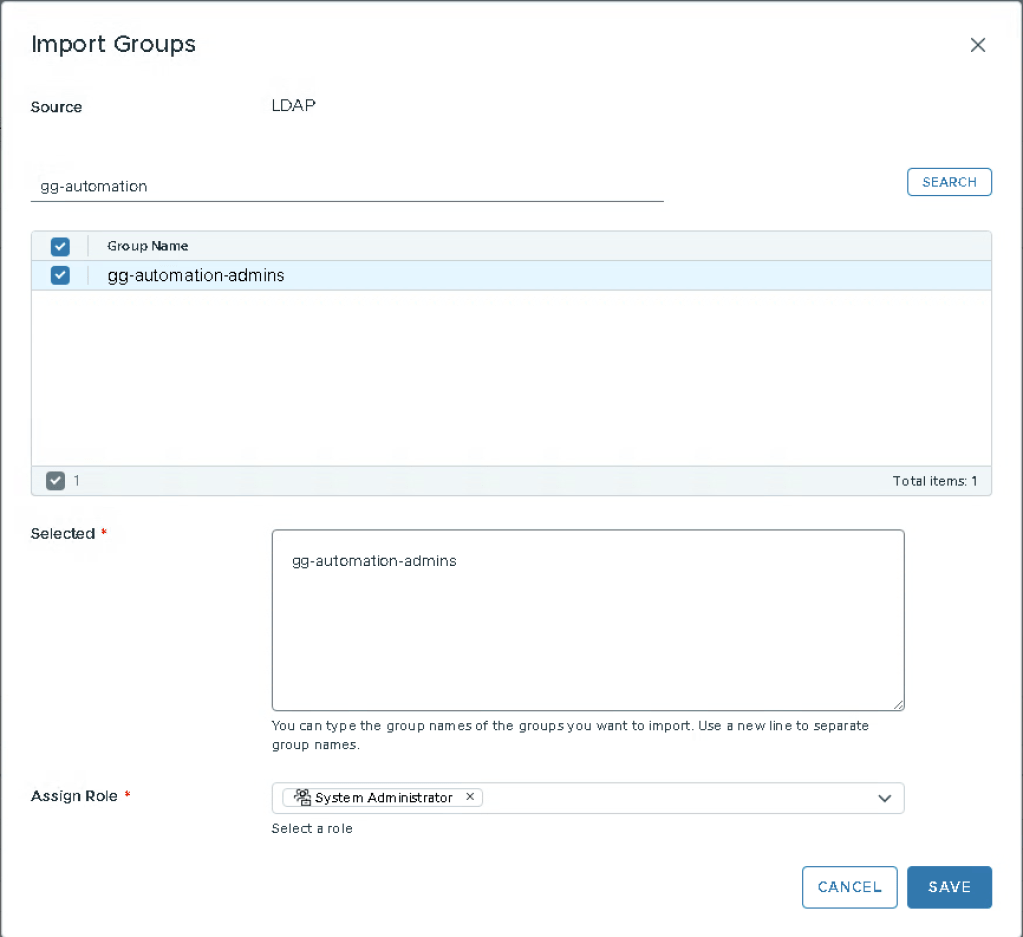
Select the Group/Groups that you want to have administrative priviliges for the Provider, and then assign them System Administrator. click Save.
Now logout, and try login using your LDAP account.
Identity Broker
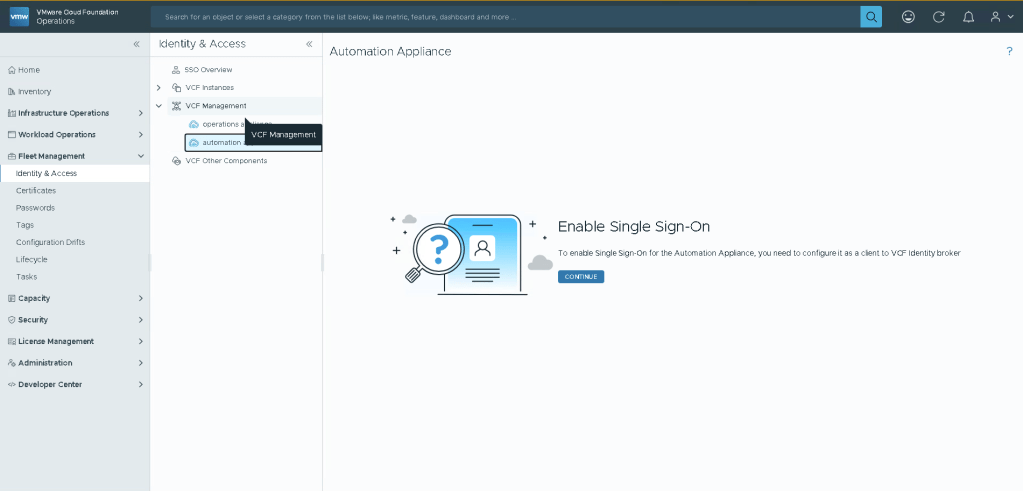
To setup Identity Broker for VCFA Provider, navigate to your Operations instance, under Fleet Management, select Identity & Access, and then in the tree find your Automation appliance.
Select Continue, to start setting up the authentication.
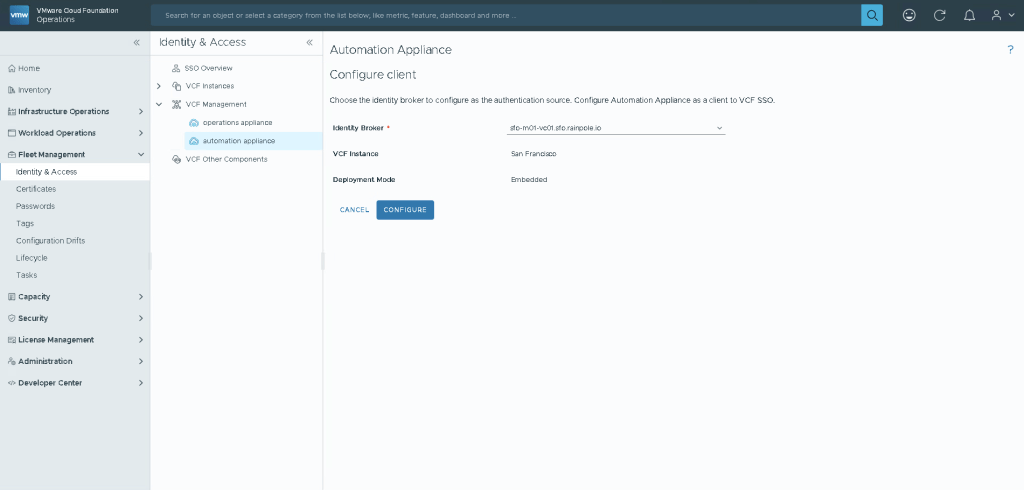
Defaults should be fine, just press Configure.
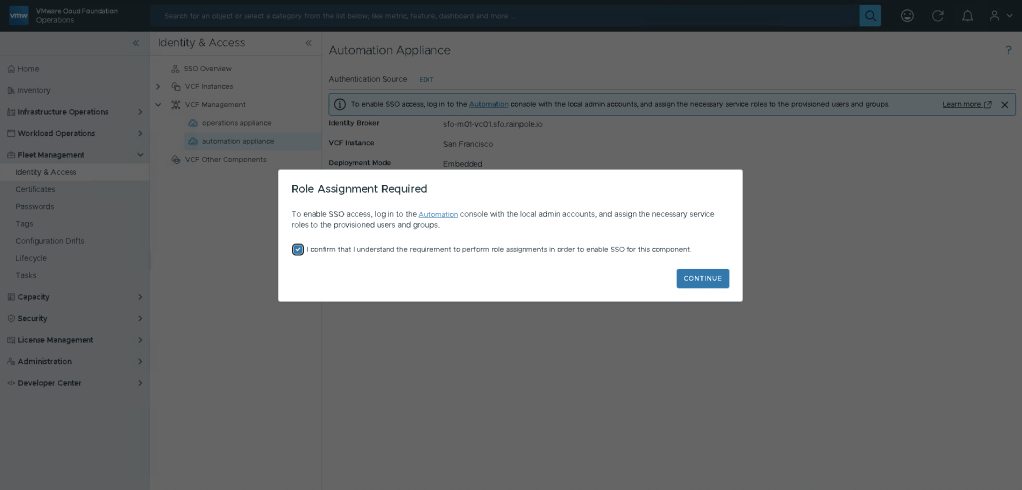
Confirm that you understand that after vIDB has been configured as a authentication source, you’ll need to assign permissions.
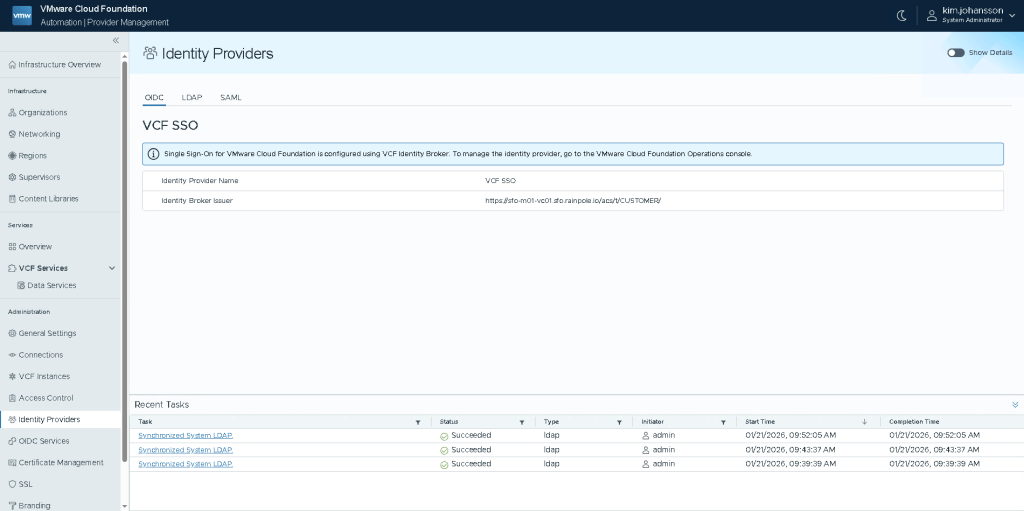
Now go back to your Automation Provider interface, and click Identity Providers. Under OIDC menu you will now see your VCF SSO appear.
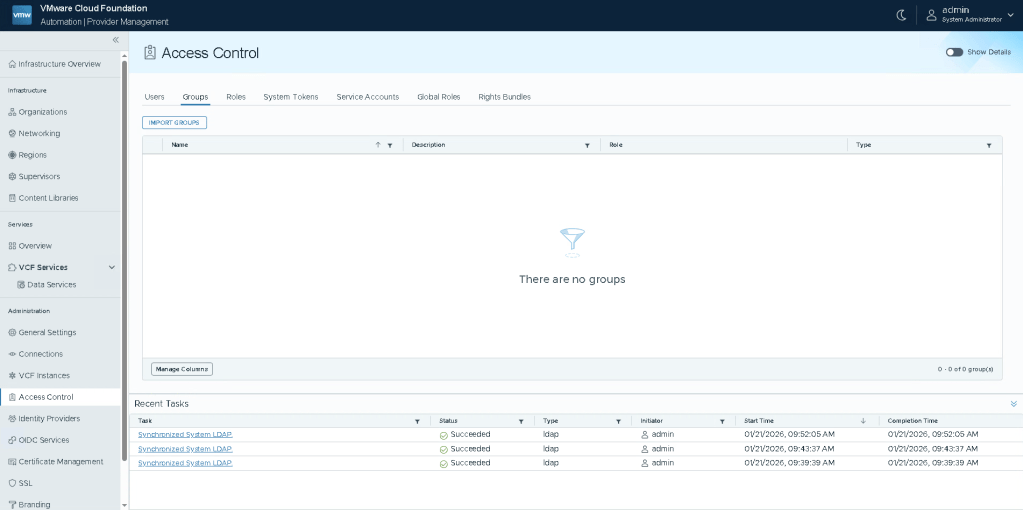
Select Access Control, and then Groups to start assigning groups and permissions.
Click Import Groups.
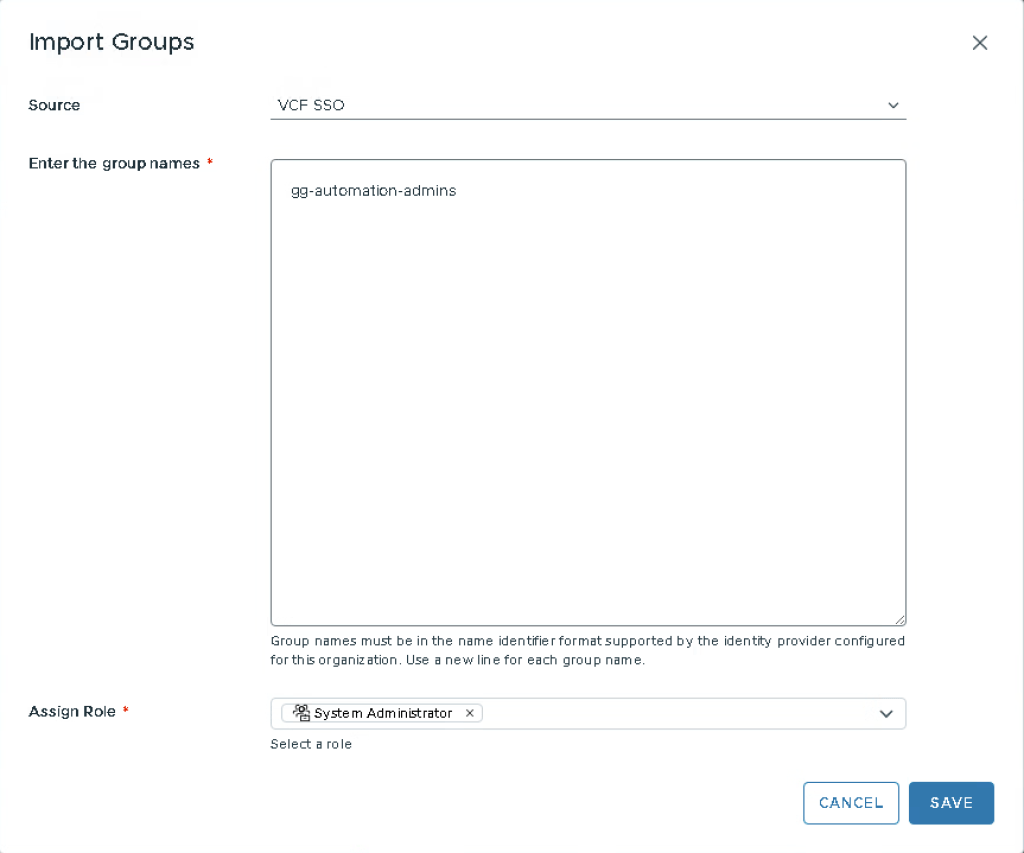
Type the name of your group/groups, assign the role System Administrator, and hit Save.
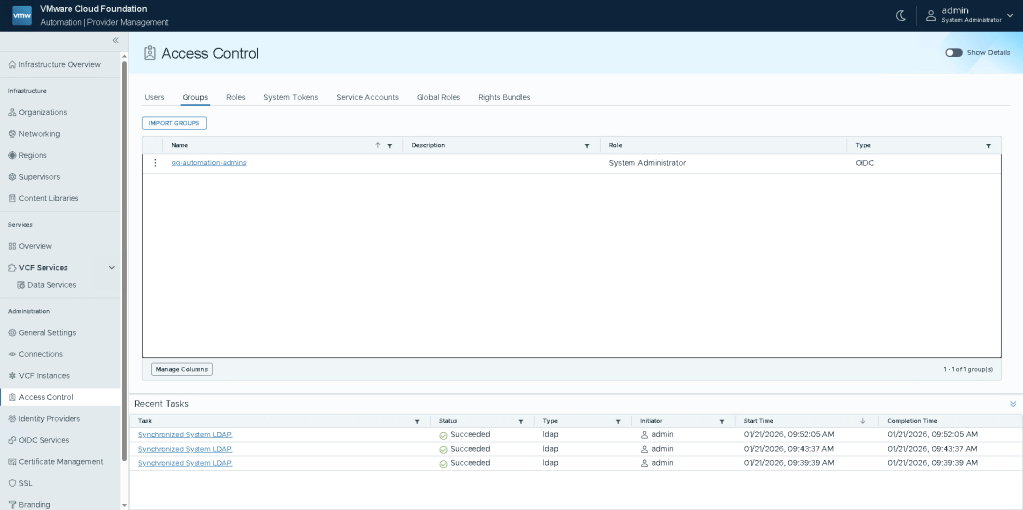
Your group should now be added, logout as local Admin, and login using the VCF SSO as authentication source.
Summary
I think we’re done. All the “ground work” has now been setup to easily create additional Organizations in the future. Unless you need to add Orgs that need bespoke ingress/egress, you can re-use pretty much everything created in form of Regions, Provider Gateways, IP-Spaces, etc.
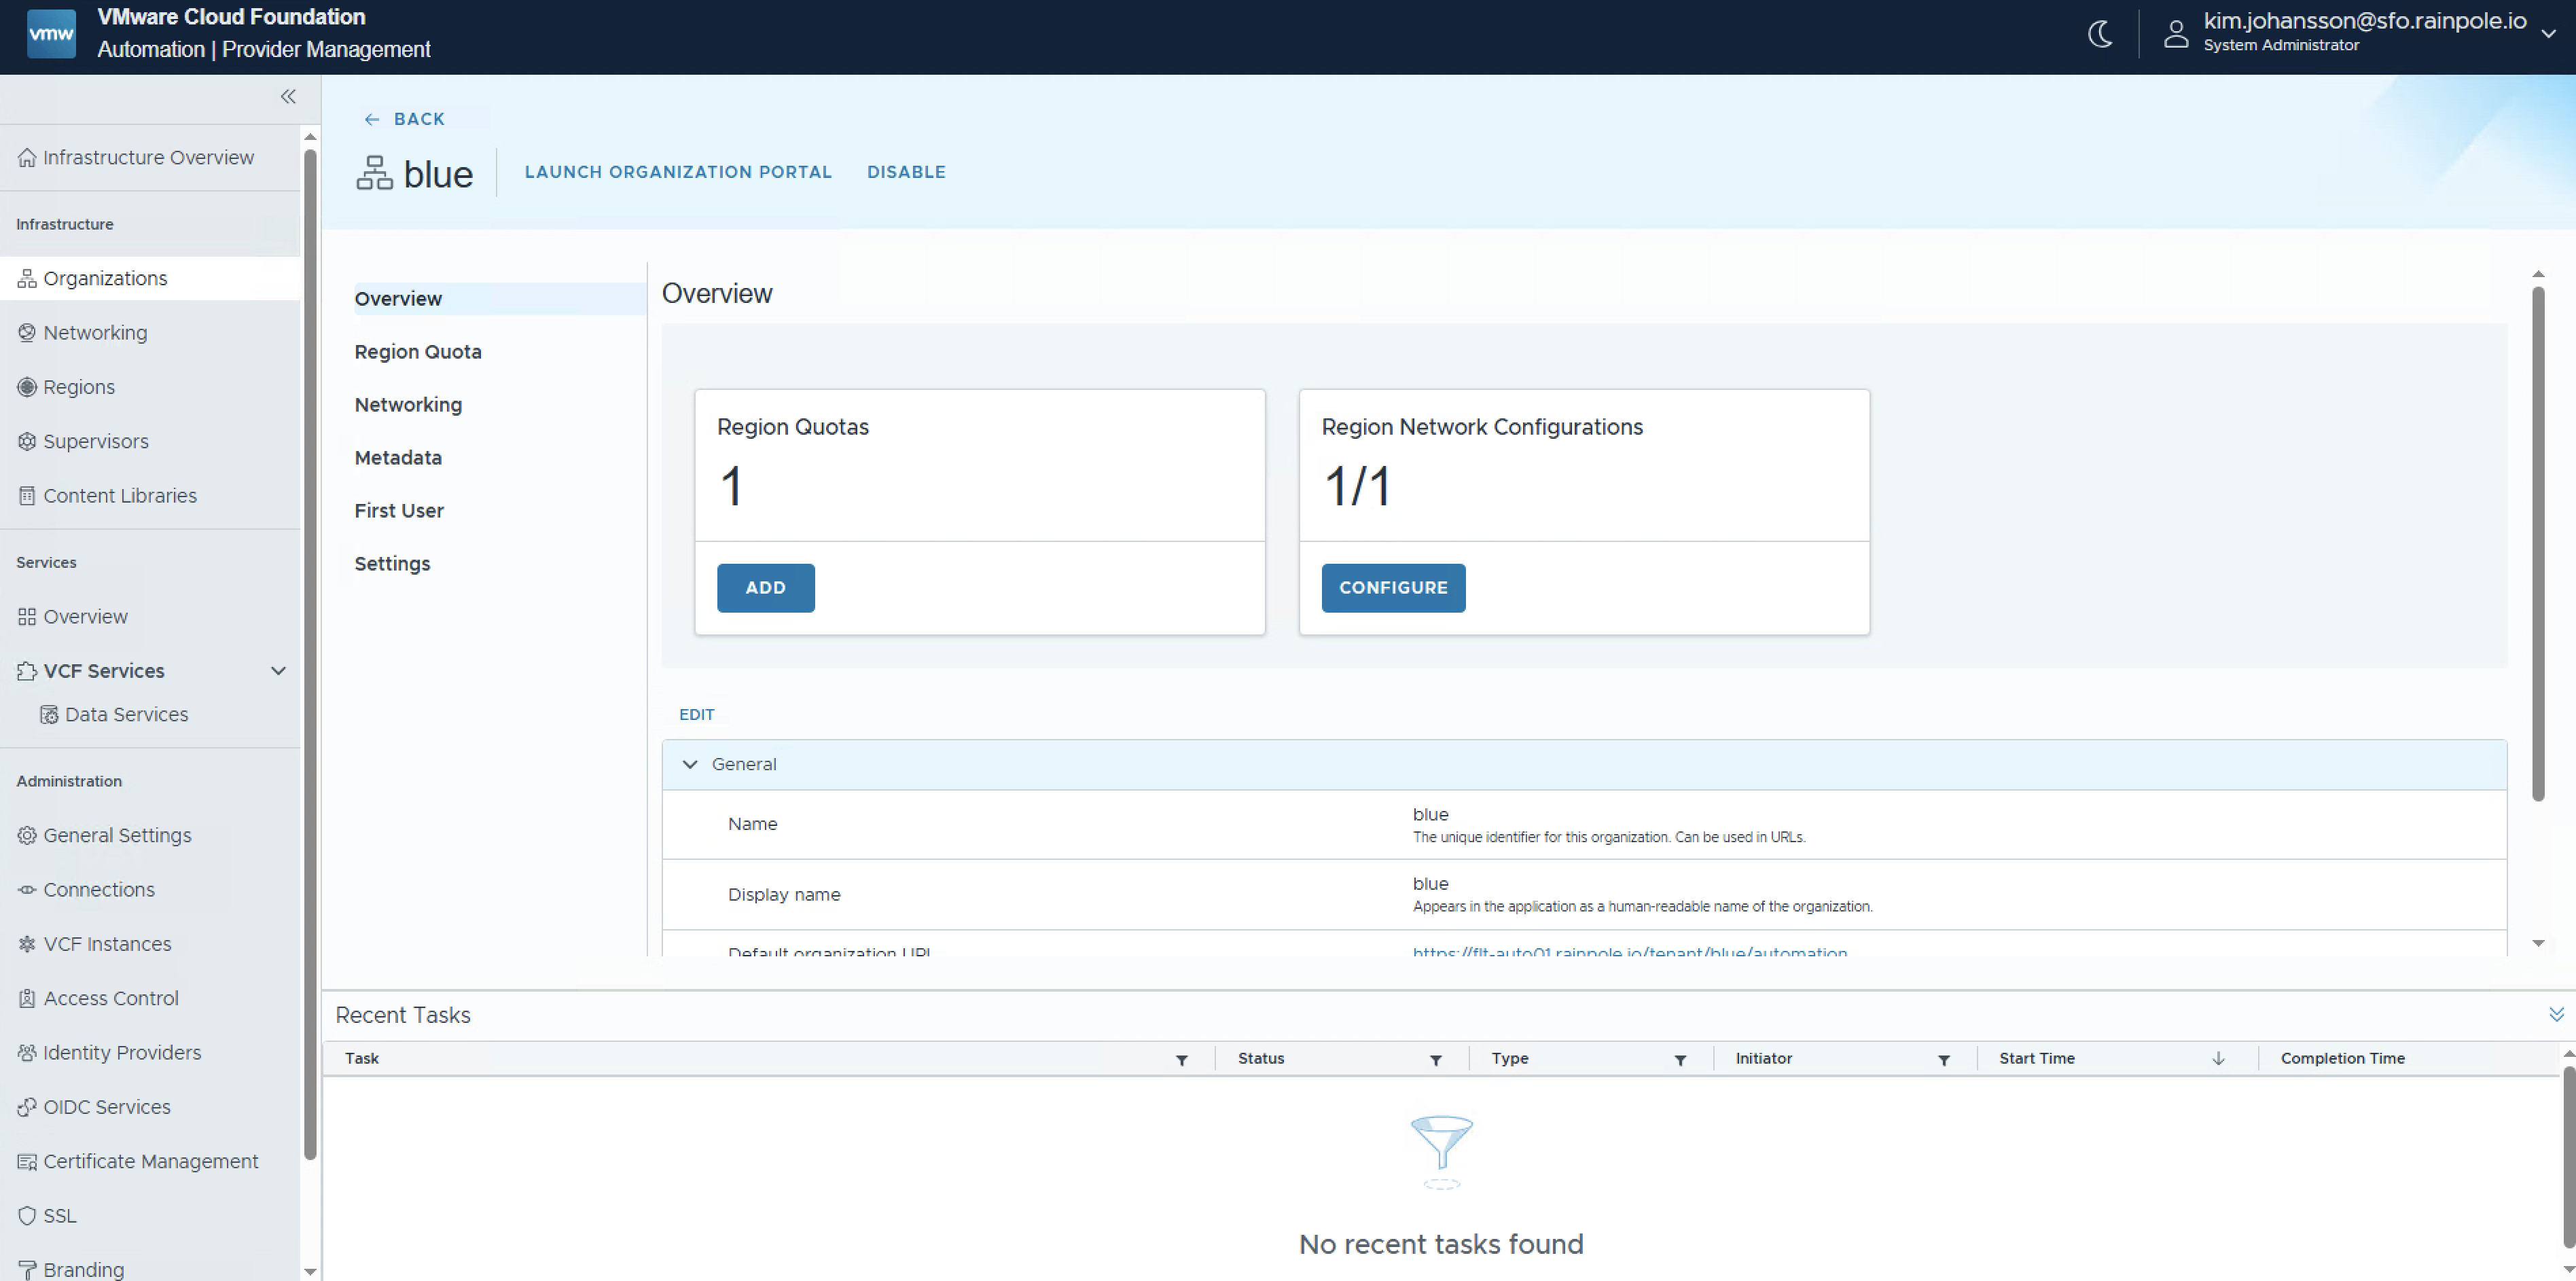
I think it’s now time to logout, and login using the Org login. If you want a quicker way to do this, simply click Organizations. Select the Org you want to login as, and click Launch Organization Portal. This will instantly log you into that Org as an Admin user.