One of the really nice features of VMware Cloud Foundation 9 is the new Identity Broker. Do note it’s called Identity Broker. This means you require a Identity Source that contains your users and groups.
vIDB 9.0 currently supports a large echosystem of Identity Sources, from Active Directory (AD), ADFS, but also anything that is OIDC or SAML2 compliant. This opens up a lot of doors especially for those who require on-prem or airgapped authentication, now you can easily run MFA too.
William Lam has tested pretty much every on-prem identity provider there is, i highly recommend reading his findings if your looking to implement MFA on-prem.
You can deploy vIDB in two different deployment types.
- Integrated into a vCenter, this means that your authentication is also dependent on vCenter being up or down. This could be more than good enough for smaller deployments where it’s okey that authentication from your source is not available e.g. during vCenter upgrade reboot window. It also consumes the least amount of resources since it lives inside the vCenter.
- External high-availability cluster, this results in 3 photon VMs being spun up, that create a very scalable and highly available solution. Drawbacks are of course that this takes more resources (although pretty small appliances), and these need to be lifecycled as another solution. But for larger deployments where users are frequently using authentication, this should be considered.
For the same of continuity in my VCF-A blogseries, i’m going to quickly describe how to setup vIDB in integrated mode, using Active Directory as authentication source.
Setup vIDB
First login to your VCF Operations using admin and the password you set during deployment.
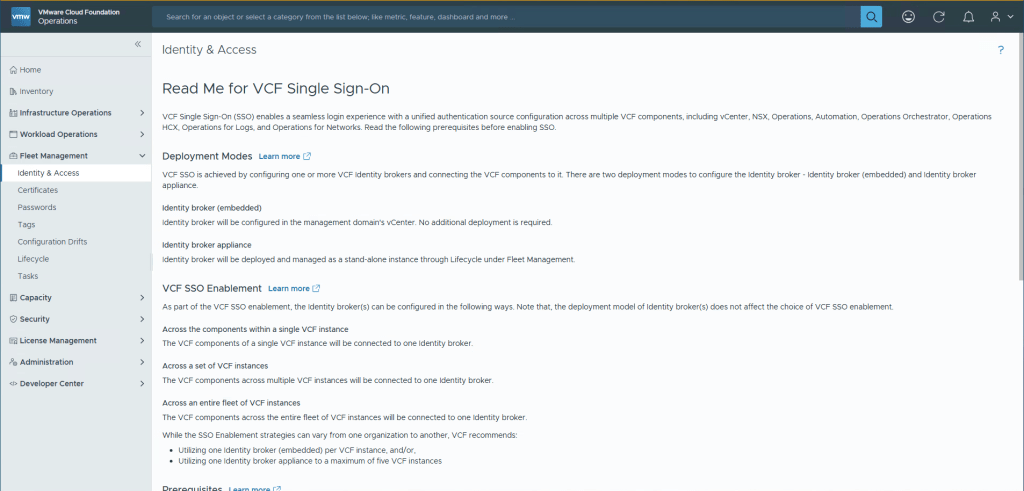
Navigate to Fleet Management and then Identity & Access, a few things to note are the checkboxes when you scroll further down. None of them should be surprising, other than maybe that ELM has been deprecated (Enhanced Link Mode), don’t worry, there’s a much better option available called vCenter Linking. Check the boxes and select Continue.
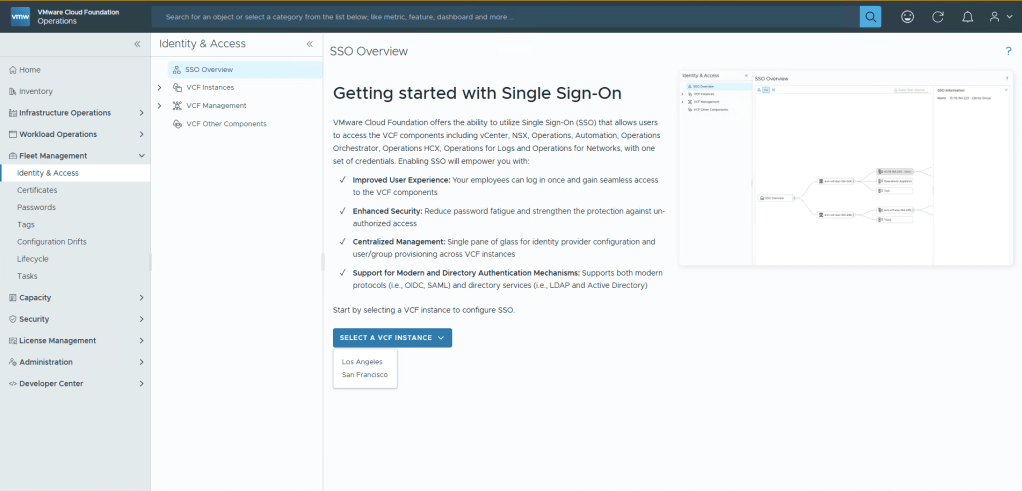
Now you’re able to select to create a new instance, and if like me you have multiple Instances, you can select in which one you want to create your broker. I’ll select San Francisco (SFO).
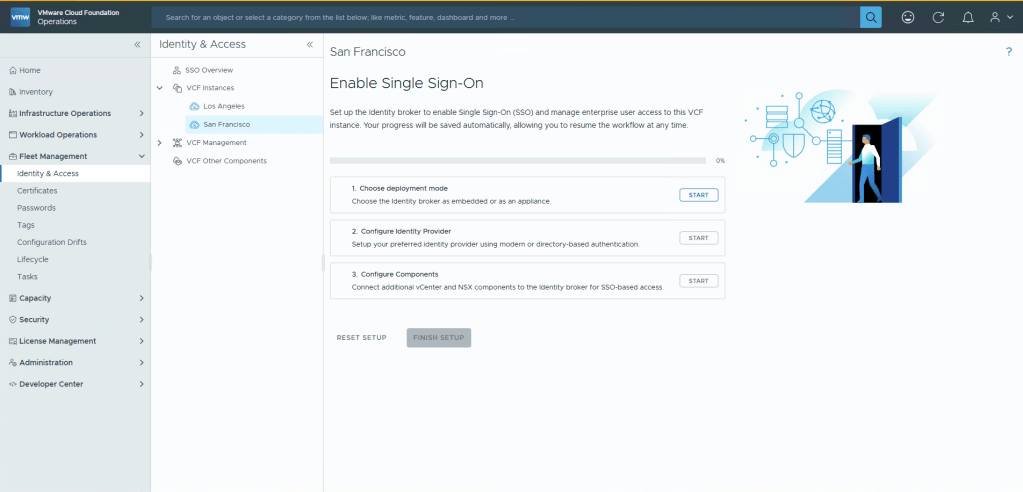
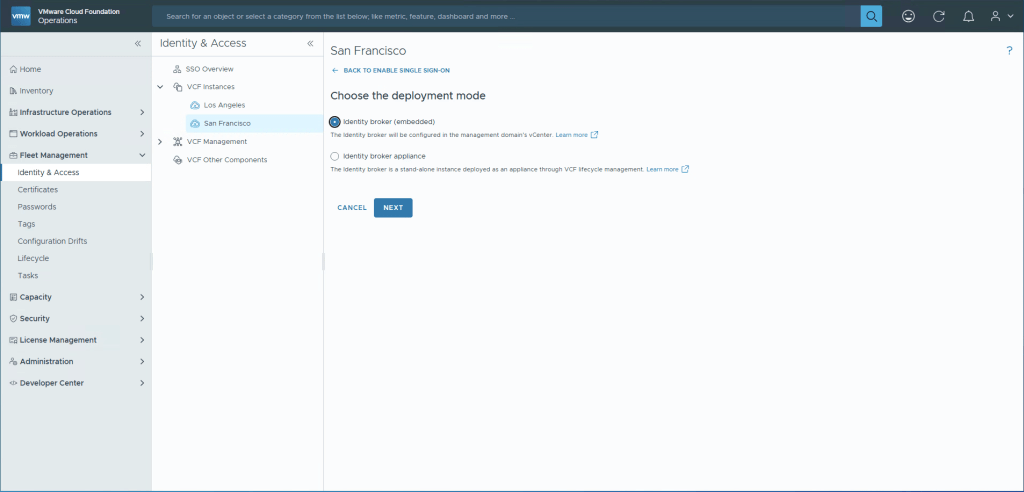
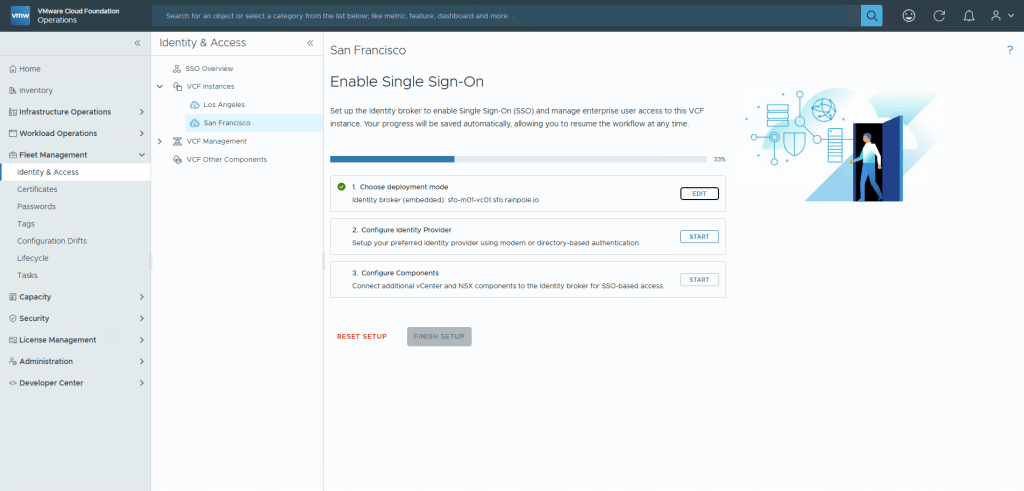
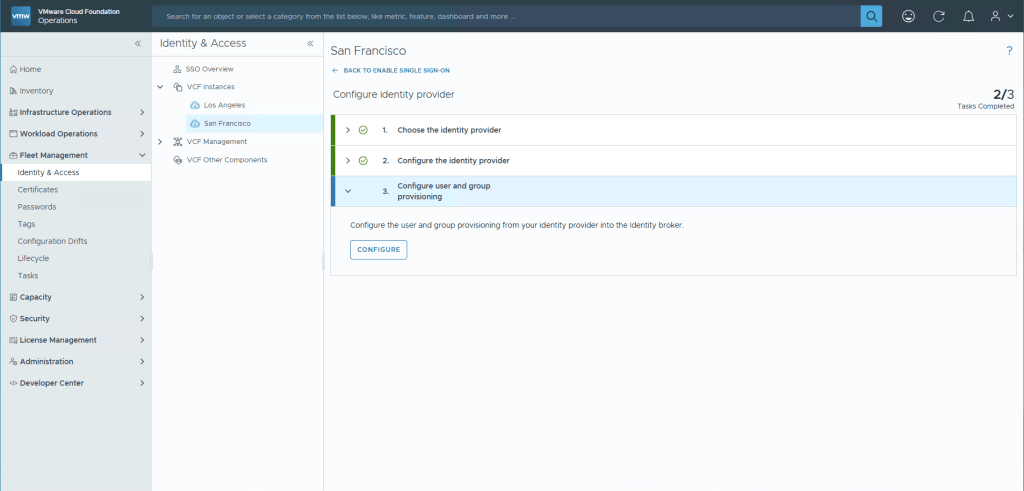
You now need to go through 3 steps. First will be creating the actual deployment (embedded, or external). Second is actually configuring the source that should be used. And Third is pushing this configuration to different features. Go ahead and click Start on step 1.
Since we’re doing an embedded deployment, just select Next.
Well that was fast 😉 Since it’s embedded there’s no deployment to do, or time consumed. Lets move on to step 2, configuring the IDP. Select Start.
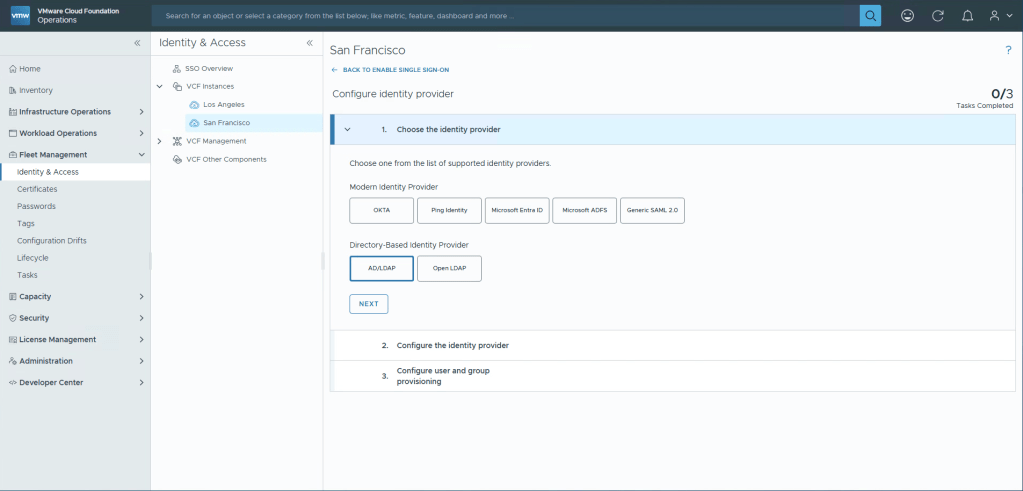
Since this is going to be a non-MFA Active Directory setup, select AD/LDAP, and Next.
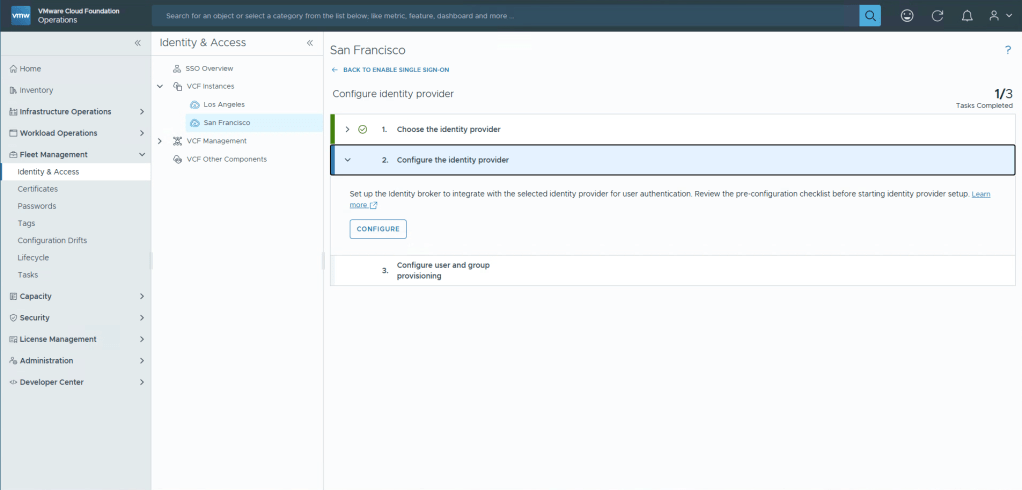
Not much to choose from, select Configure.
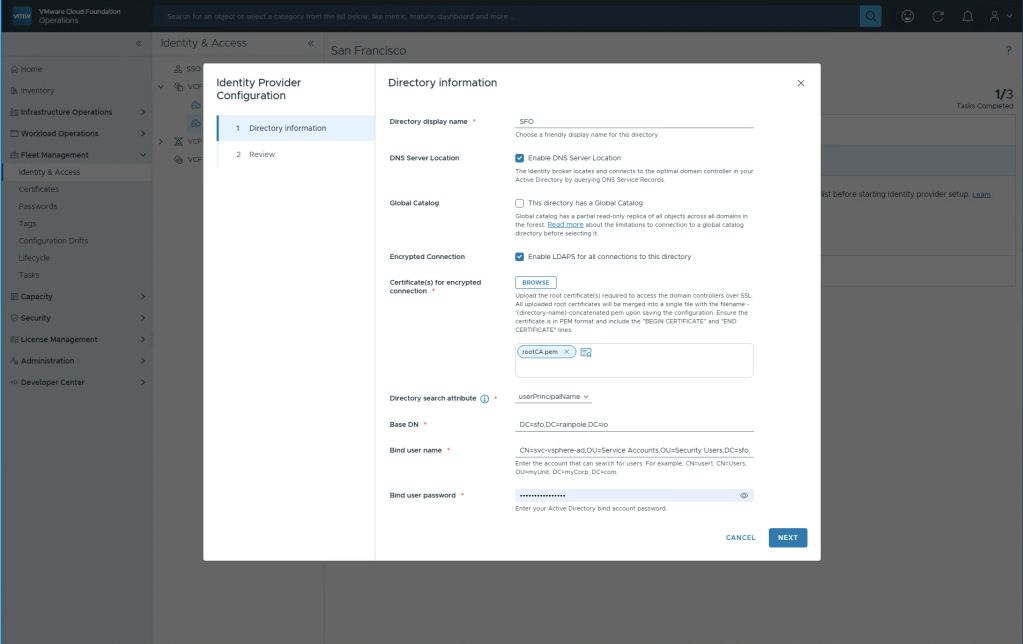
Choose a display name, please note this can’t be changed after this configuration is done.
I’ve opted to use DNS Server location since my ADs are properly setup in DNS.
Of course use LDAPS to get encrypted communication! Provide the root certicates for your AD.
Directory Search Attribute is SAM by default, but because in Aria Automation 8.18 with CCI, UPN was required and it was a pain to modify an existing vIDM back then, i’ve just starting changing this to UPN since it seems the world is moving towards this.
Select your Base DN, and a service account that can be used for lookups. Select Next.
And easy as that, you should now be done, select Finish.

Next step is to configure which users and groups will be synchronized. Select Configure.
Select Next.

These options should be fine, tweak if you want. Select Next.

Input the DN for your Groups, and click Select Base Group DN, it should now populate a list of all the groups discovered. If you have many groups they may be paginated. Please note that if you “select all”, it only selects the groups on the page you’re viewing so you need to select all, then click next page, select all again, etc.
When you’ve selected the groups you wish to synchronize, select Next.

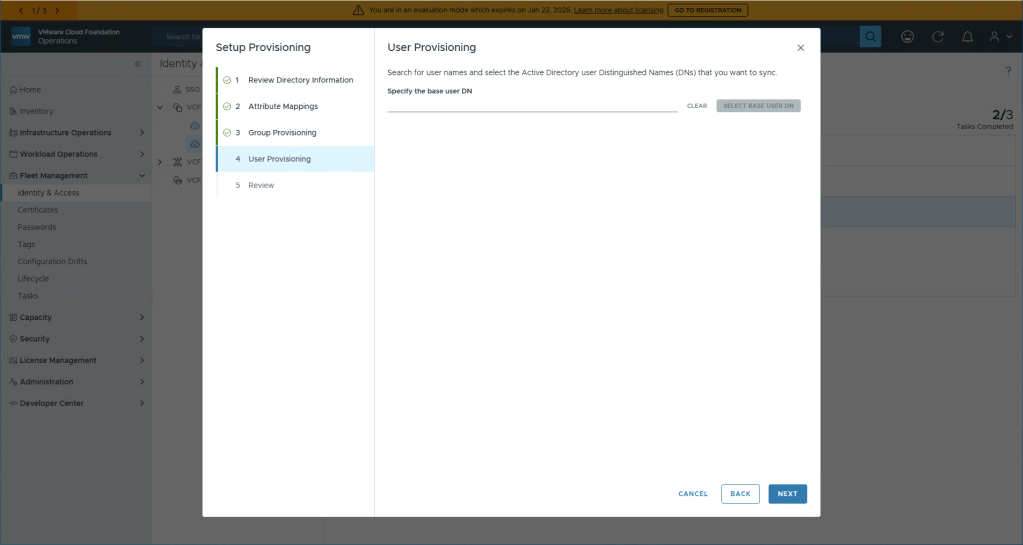
Unless you want to synchronize specific Users, you don’t need to do anything here, Users beloning to the Groups you’ve previously selected will be synched anyway. Select Next.
We have arrived! Final setup is to just select Finish, easy huh 🙂

Select Done to go back to the main menu.

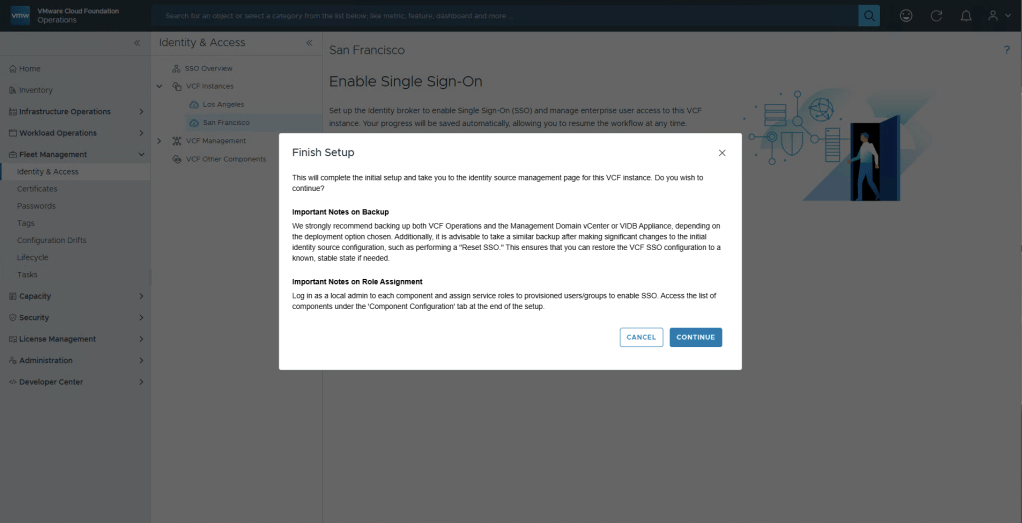
You could select Edit on step 3 to also configure NSX etc, but i’ll show an easier way. Select Finish Setup.

We will now do what the alert says, setup the permissions for the groups that should be able to login to the different services. Select Continue.
Configure vIDB and push settings.
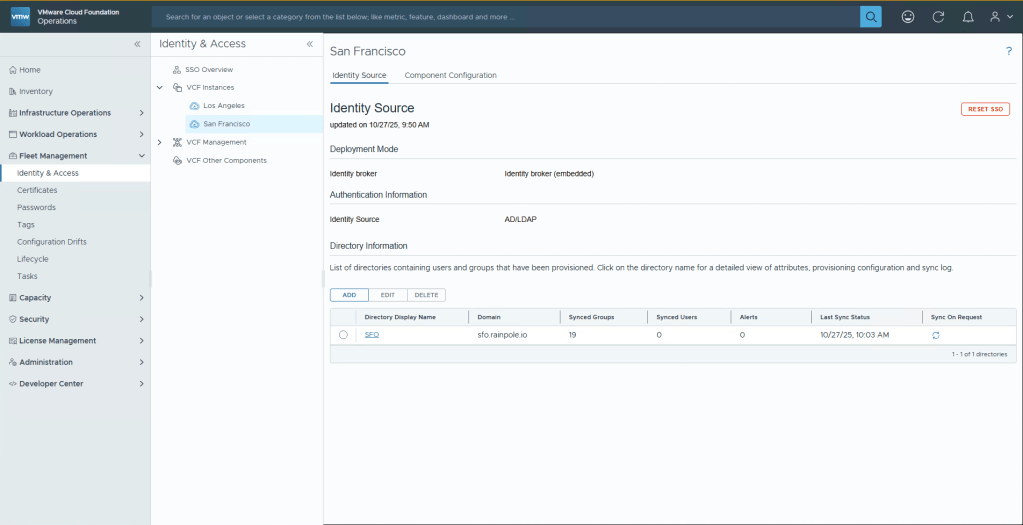
You now have an Identity Broker instance setup, let’s first fix some basic things. Select the instance you just created (SFO), and click Edit.
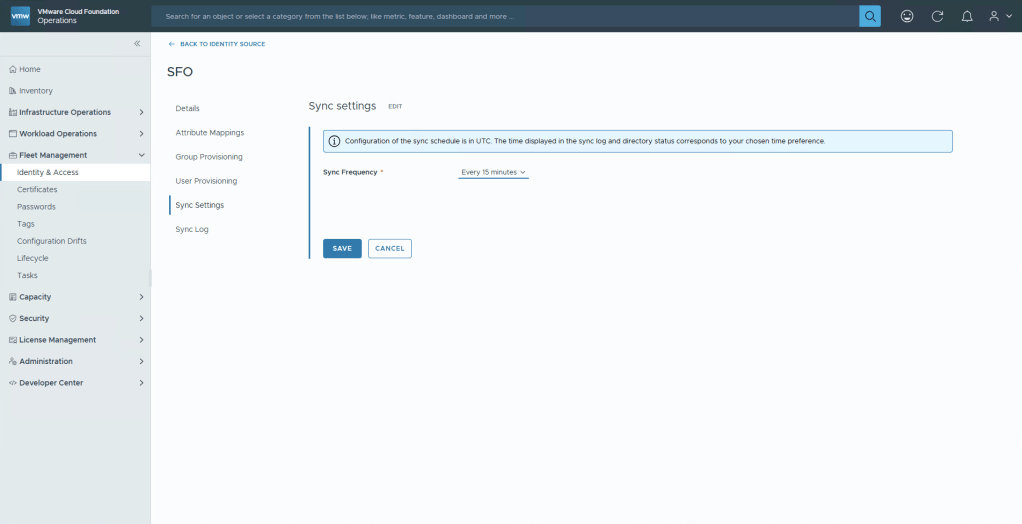
Navigate to Sync Settings, and then click Edit, change the Synch Frequency to Every 15 minutes, or whatever you think is necessary for your business. Otherwise users who get added may have to wait a long while to get access, or you will be forced to click the “Sync on Demand” button to hurry up the sync. Click Save and then Back to Identity Source.
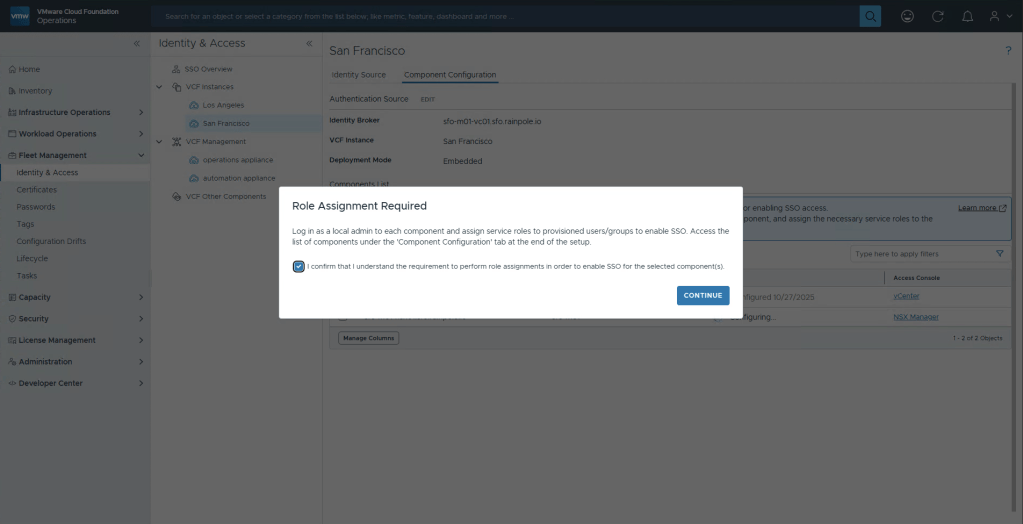
Now we’re going to push the configuration to NSX, Operations and Automation before finally configuring the permissions. Select Component Configuration, mark the NSX manager, and then click the button Configure Component.

Once again you will be alerted to the fact that this only configures the authentication source, you need to manually configure what Users and Groups should have permissions to what in the component. Select the checkbox and then Continue.
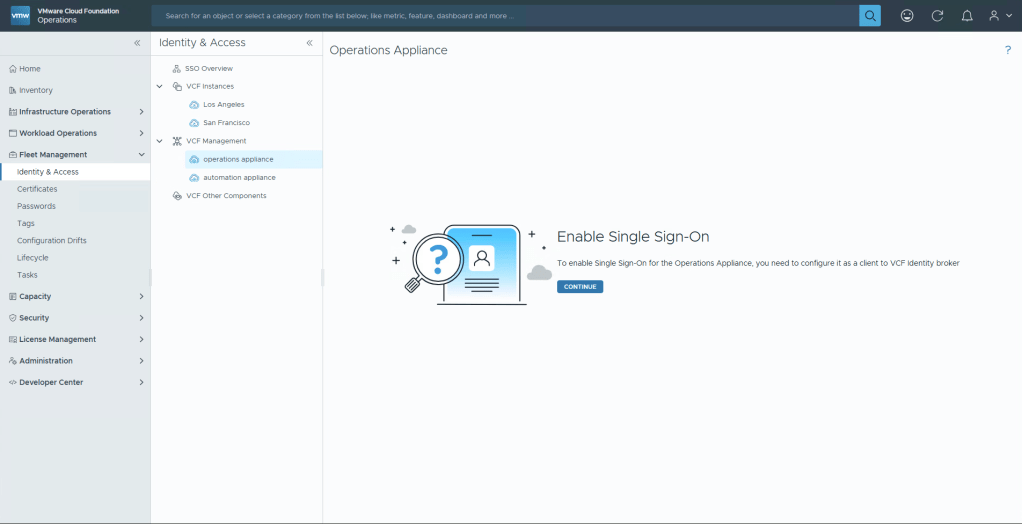
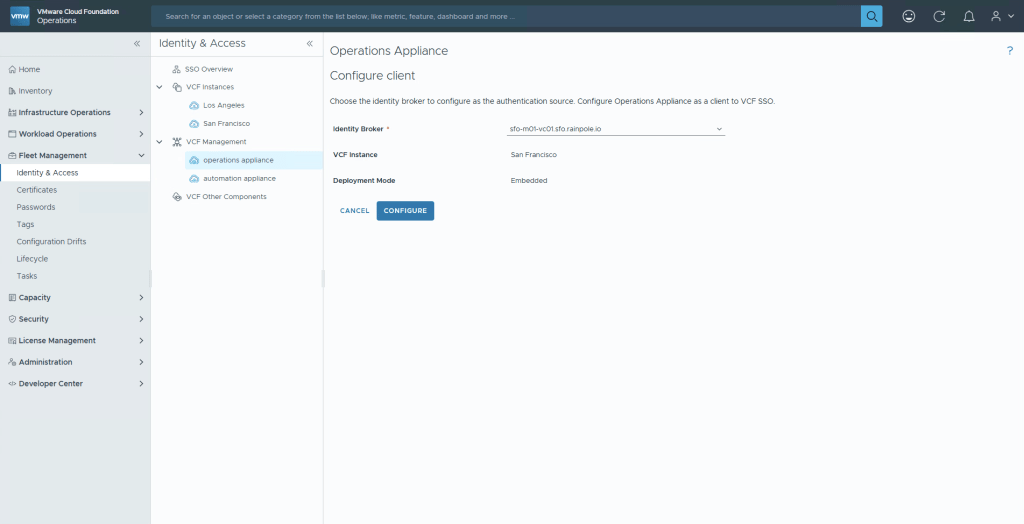
Now in the middle menu on the left, select your Operations Appliance, and Continue.
Select the Broker instance you want to push, and then Configure.
By now, we’re familar with this message saying we need to configure roles and permissions. select Continue.

Now let’s do exactly the same thing for Automation Appliance. Continue -> Configure -> checkbox -> Continue.

Configuring Permissions
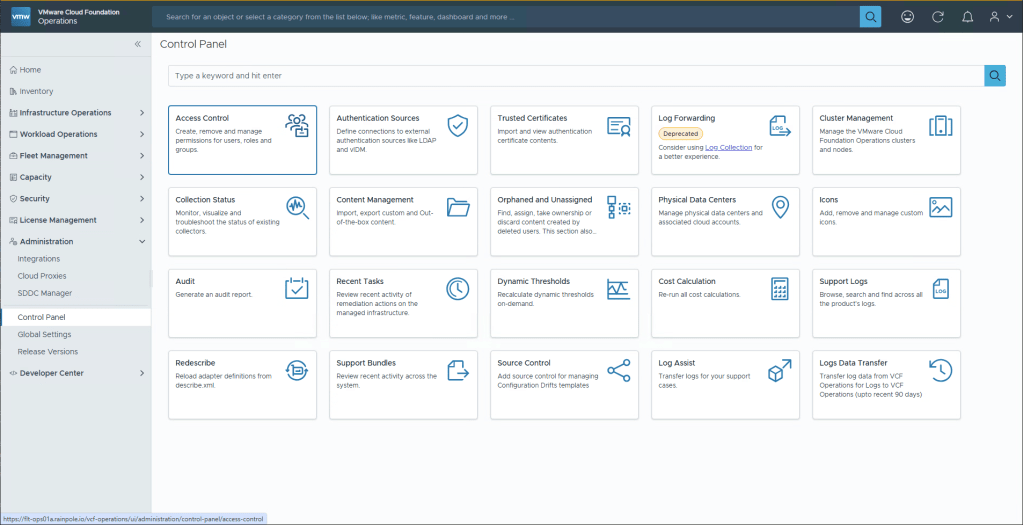
Okey so we’ve created a broker instance, and configured the components to use it. Now we need to setup the Permissions for each. Let’s start off with Operations since we’re already logged in. In the left hand menu, navigate to Administration, Control Panel, and select the Access Control tile.
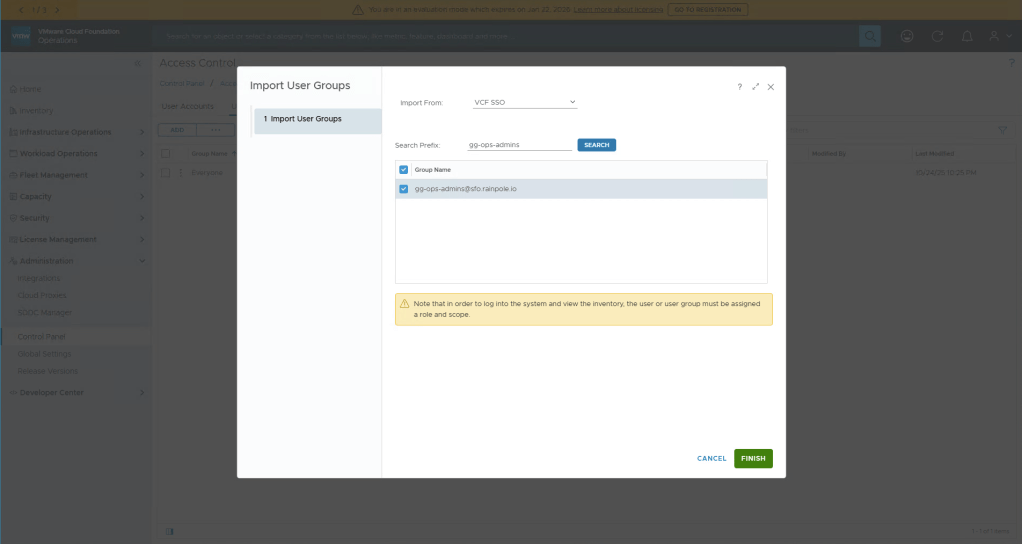
Select User Groups, and then click the three dots to reviele Import from Source.

Enter the group that you wish to allow admin access to Operations into theSearch Prefix, click Search. Then select your group and click Finish.
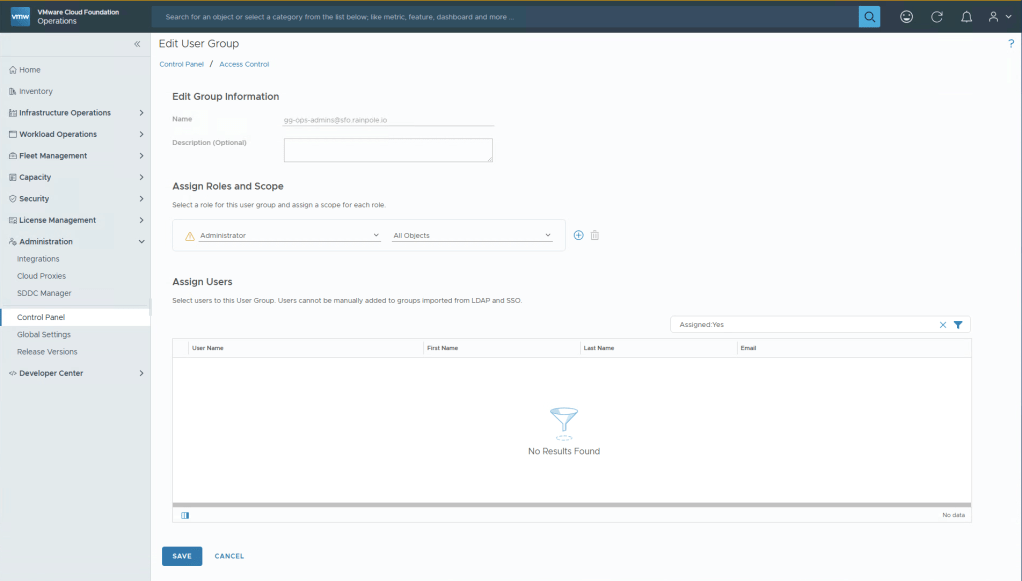
Now click the three dots next to the group you just added, and Edit.
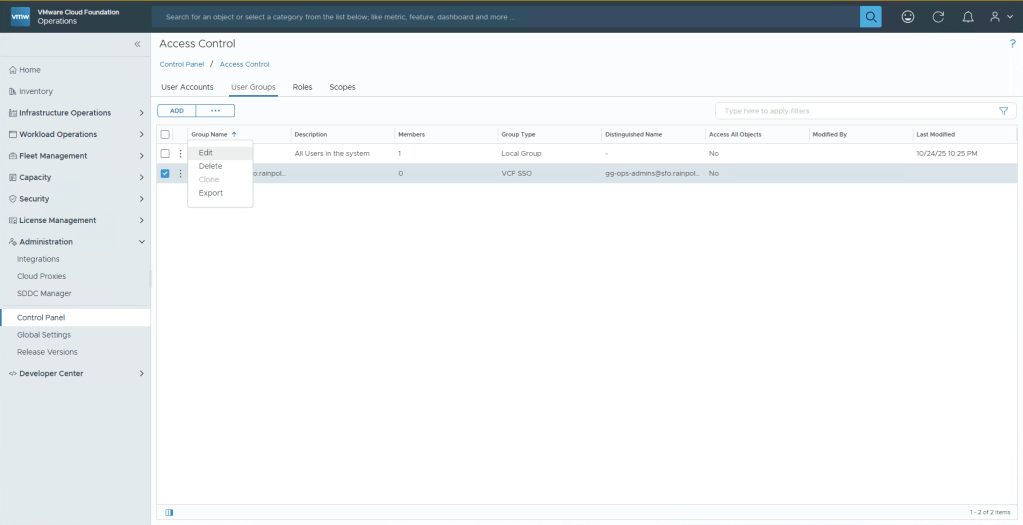
Under Assign Roles and Scope, select Administrator, and All Objects, click Save.
We’re now done with Operations, you should now be able to login using a User that is added to the group you gave permission to. If you cannot login to Operations using this username, please ensure that it’s been synchronized, if you’ve added the group within 15 minutes, remember you may need to click the little blue icon next to your IDB to get it to manually sync, or have a coffee and wait 15 minutes.
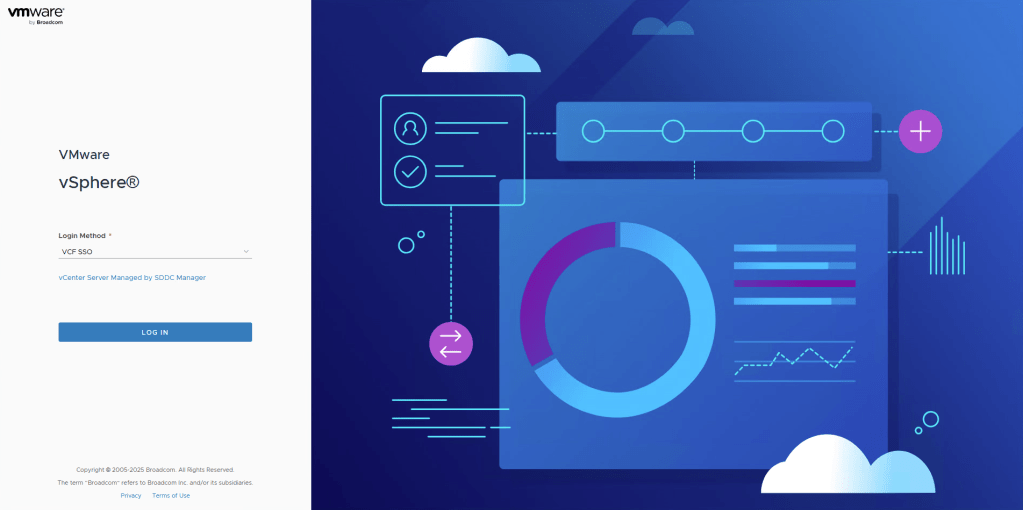
Let’s move on to vCenter, browse to your vCenter server. You’ll be greeted by a login screen that says VCF SSO. But since you havnt configured any permission yet you wont be able to login, click the dropdown and select Local Account. Login with your administrator@vsphere.local account, and your password.
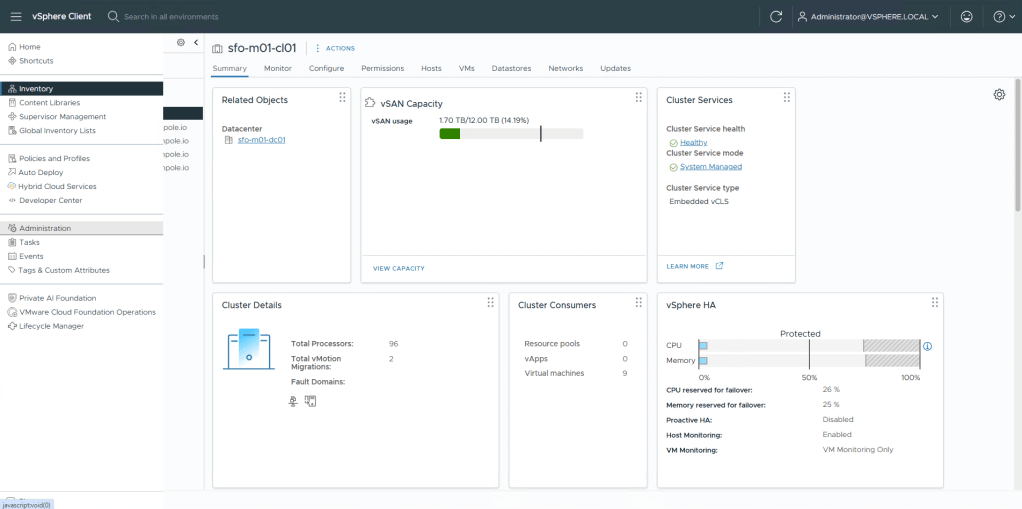
Once logged in, click the “hamburger menu” in the top left, and then Administration.
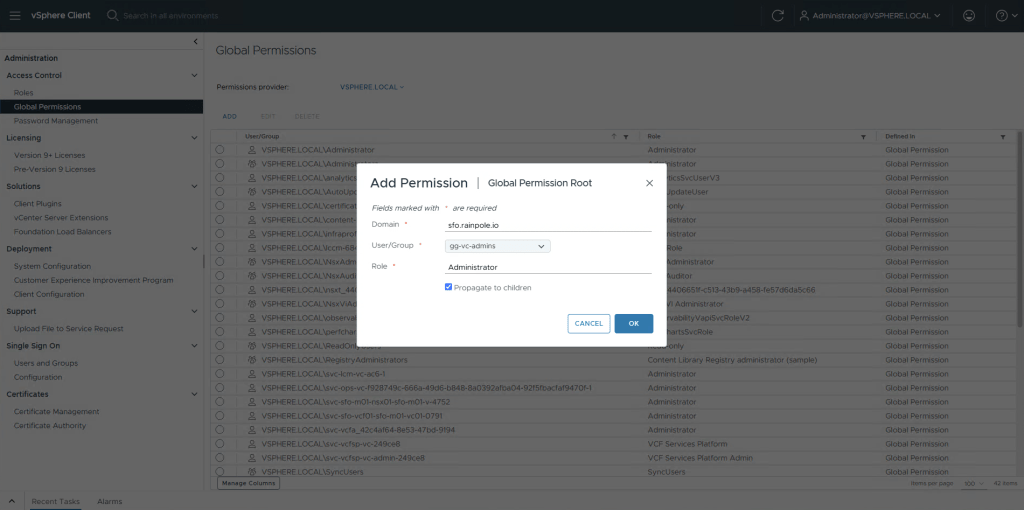
Select Global Permission, Add, select the Idendity broker instance for Domain.
Search for the group that you want to provide Administrative access to.
Select Administrator as role, and Propagate to children, then select OK.
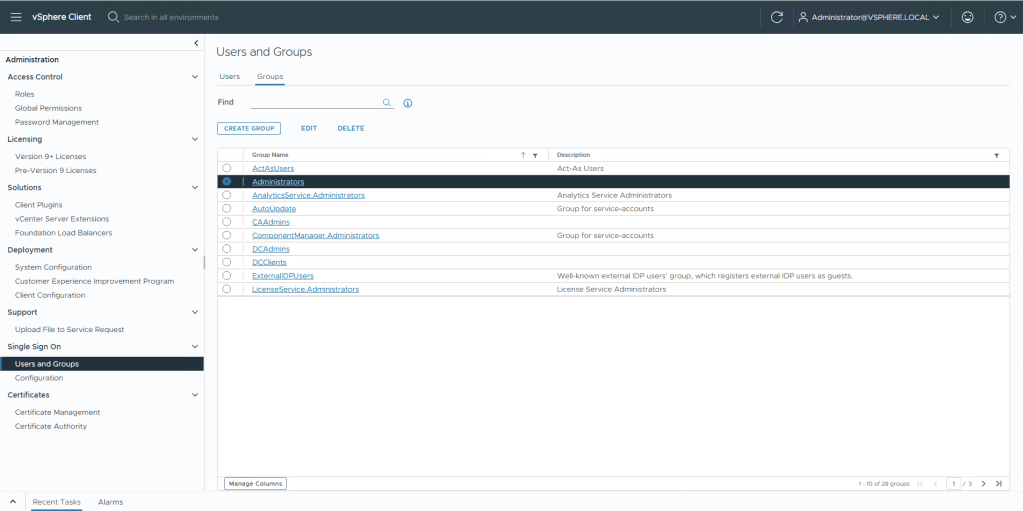
Now in the left menu, select Users and Groups under Single Sign On.
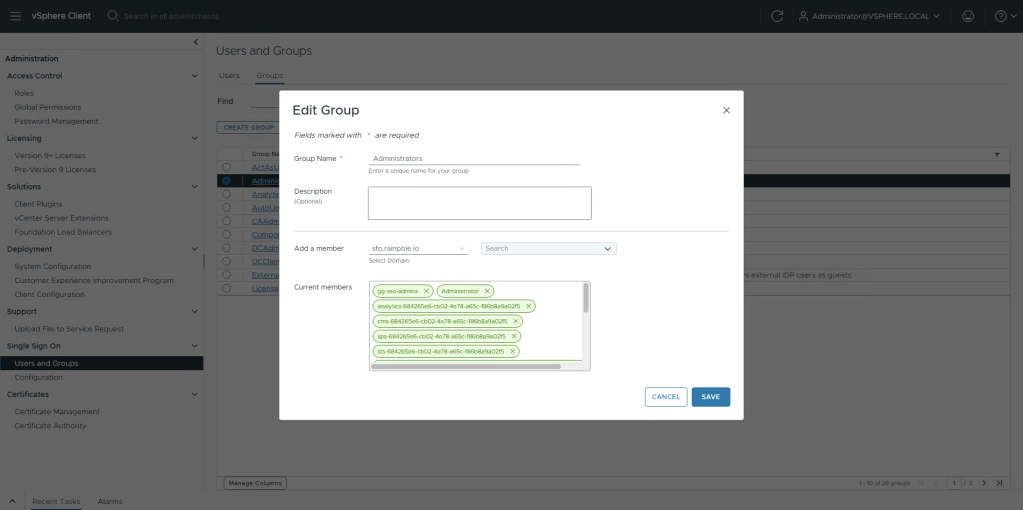
Select Groups submenu, and then highlight Administrators and select Edit.
In the Add a member dropdown, select your broker, and in the search field search for the group you want to add and click enter. You will see the group being added as a green item in the list below, click Save.
We’re now done configuring vCenter, you should now be able to logout of vSphere, and login with your AD account. Let’s more on to NSX.
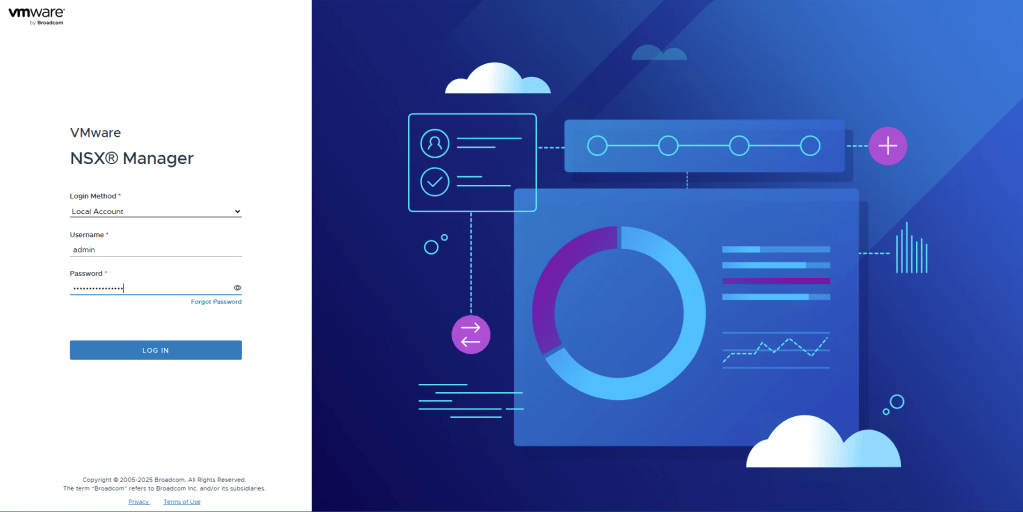
Browse to your NSX Manager instance. Just as with vCenter you’ll get the login screen for VCF SSO. Using the dropdown change to Local Account, and login with admin and your password.
Navigate to System in the top menu, then User Management in the left menu.
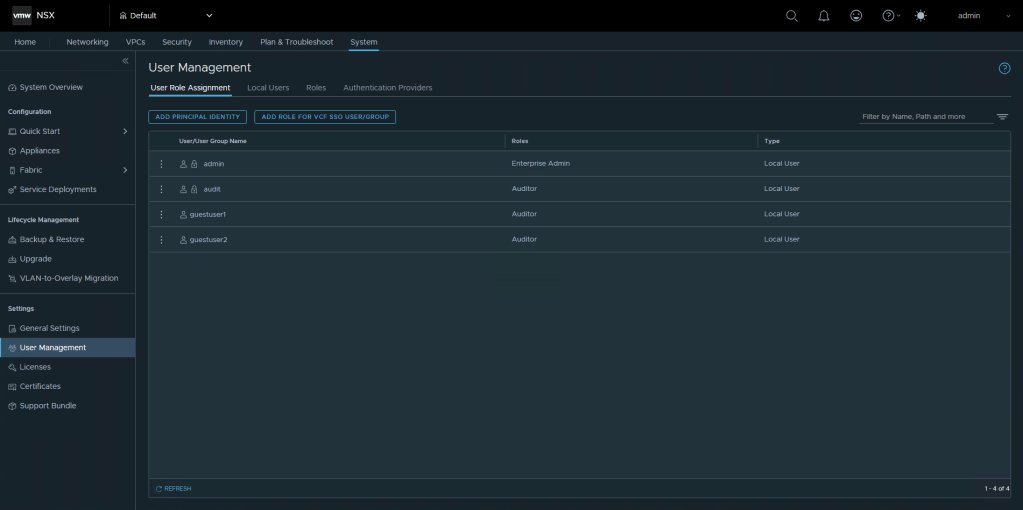
Select Add role for VCF SSO User/Group, enter the AD group you wish to use. Select Set, and then Add Role.
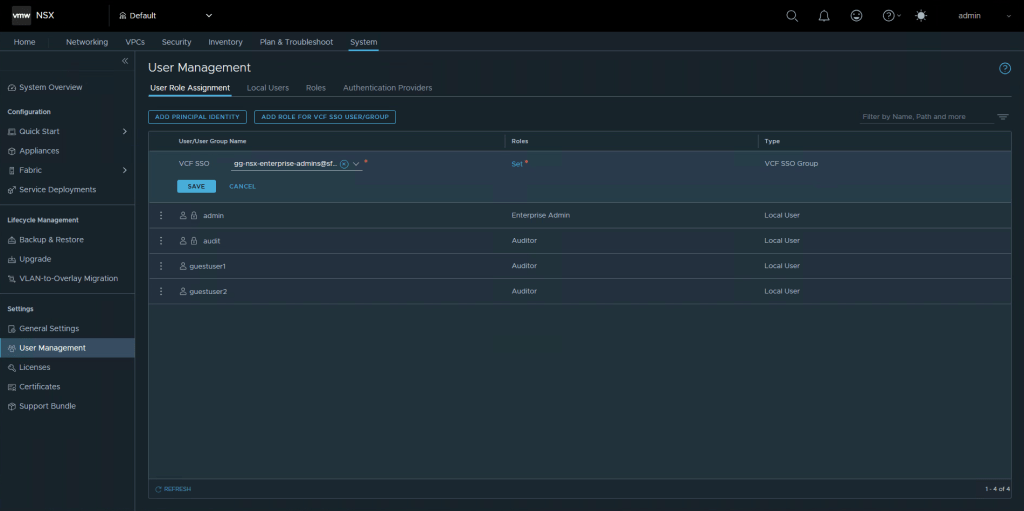
Select Enterprise Admin from the dropdown, and click Add, then Apply. When your back in the menu, select Save.

We’re now done configuring NSX. If you’re already logged into vSphere using your AD account, logout from NSX admin account, and select VCF SSO again as identity source, you should now be single signed on!
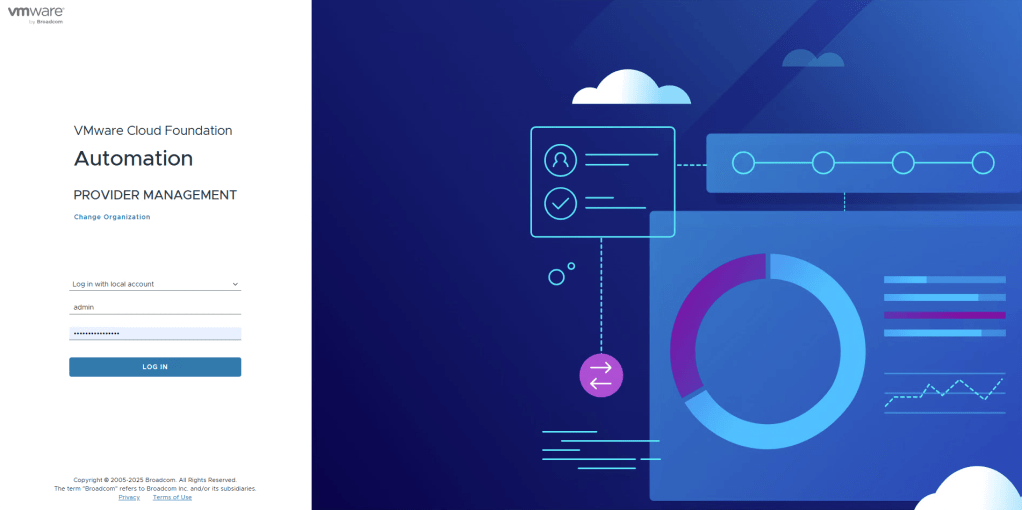
Let’s continue with Automation. Browse to your Automation deployment.
For organization we’re going to be logging in as system which is the Service Provider part.

Select to login using Log in with local account, and enter your admin and password credentials.
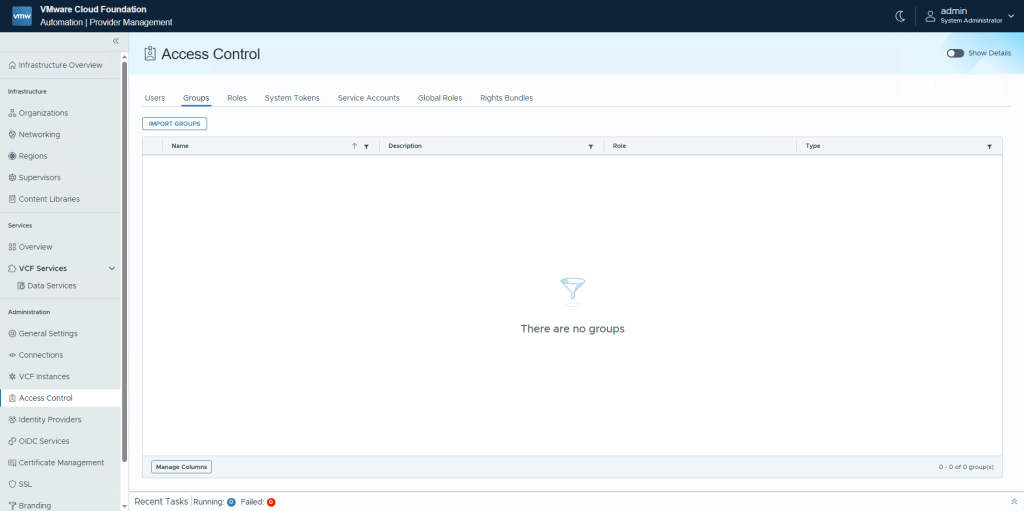
On the left hand side, select Access Control, Groups, and then click Import Groups.
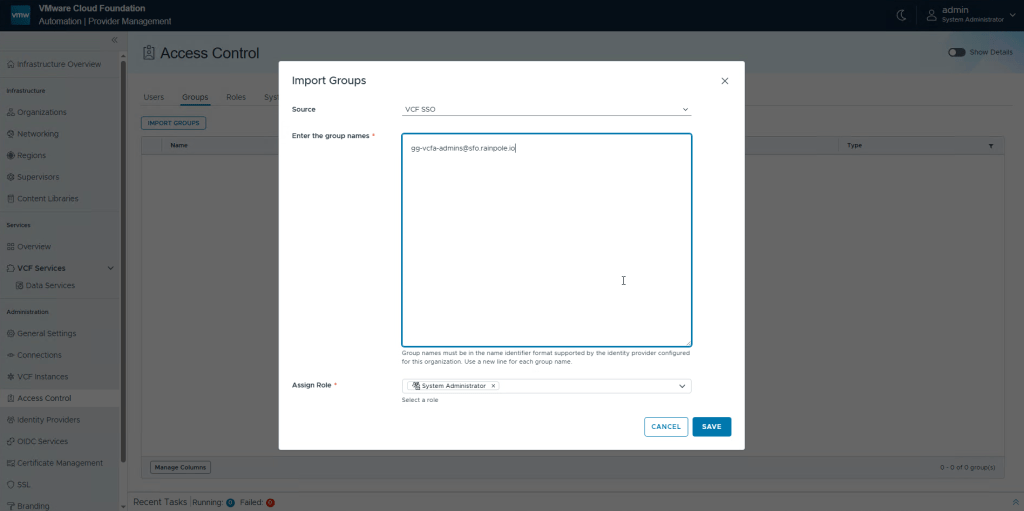
Change the source to VCF SSO, enter the group you wish to add, and assign the role System Administrator. Click Save.
One last thing, to be able to create workload domains etc in the future, we also need to ensure that users have the right permissions in the SDDC Manager. There’s not a whole lot of reasons why a user would login to SDDC Manager currently, except that since it’s used as an API engine, permissions need to exist.
So login to the SDDC-Manager, since you’ve setup SSO for your vCenter already, you should be logged right in without having to do anything.
Select Single Sign On in the left menu, and then click + User Or Group.
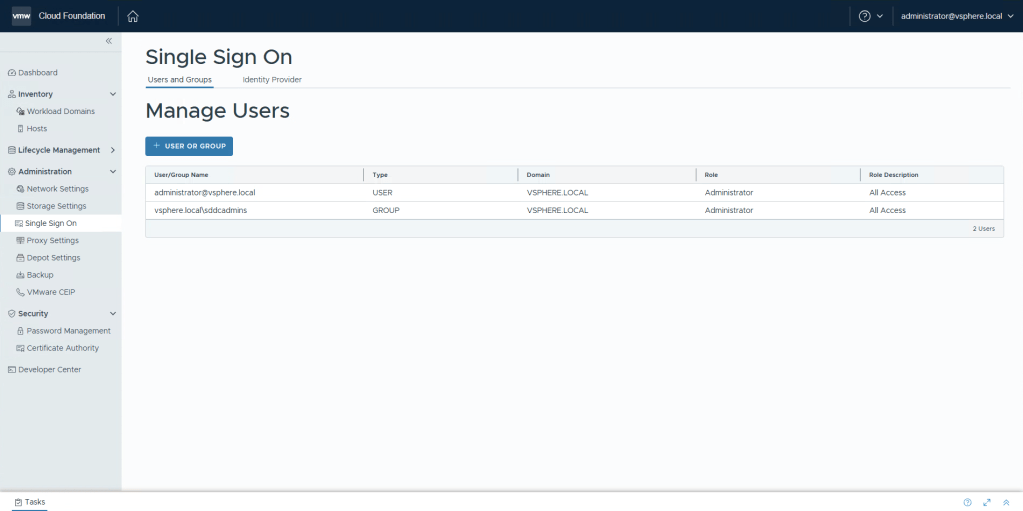
Select the Broker for your Domain. Check the Group that you would like to have admin access, and then select the Role Admin. Click Add.
Now ensure that the user that you will be creating workload domains and adding hosts in the future, is a member of both your vCenter Administrator group, and VCF Administrator group.

And we’re done!
Wrap up!
So we’ve now configured a VMware Identity Broker that is hosted in the Management vCenter appliance.
We’ve then configured it to use LDAPS as source.
We then pushed this configuration to NSX, Operations and Automation (it automatically pushes to the management vCenter).
We then configured vCenter, NSX, Operations and Automation to have permissions for different groups to login to the components.
If you create more Workload Domains, you will need to revisit the Identity & Access tab in Operations to also “push” this configuration to the new vCenter and NSX components. Also if you deploy Operations for Logs, or Operations for Networks, same thing applies!
